Need OEM supplier support for this product type?
Contact KOLARWIN Tools for OEM mechanic tools, private label packaging, wholesale quotation and product range support. This gives overseas buyers a clear path from article reading to supplier discussion.
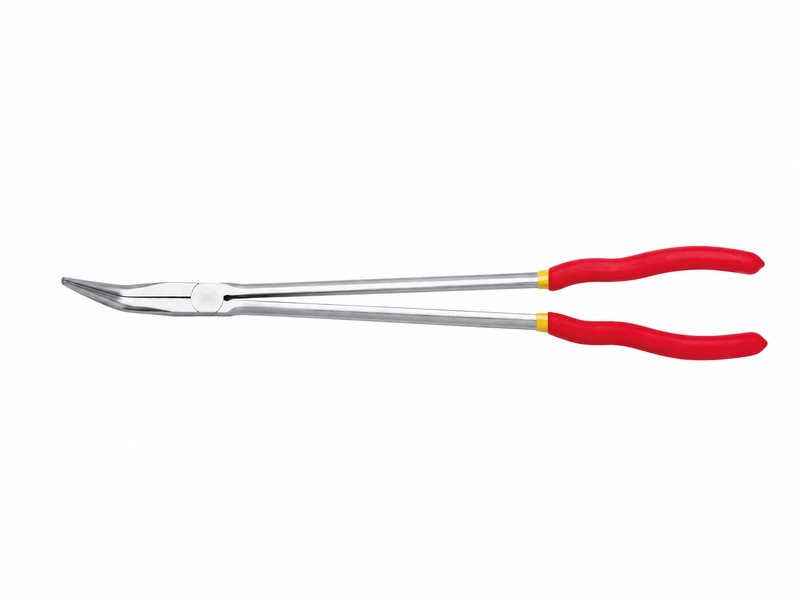
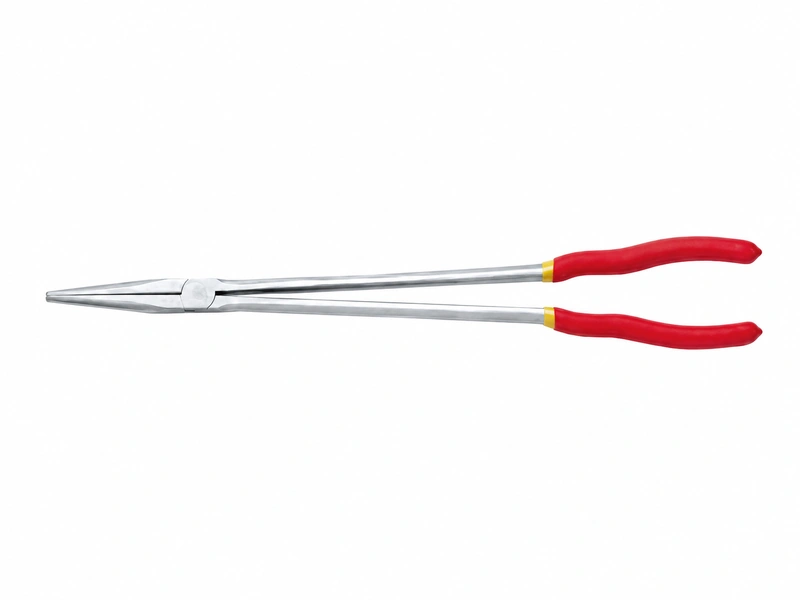
A plier tip reaches the part, but the handles hit a bracket before you can grip it. Bent nose vs straight nose pliers selection starts with that access problem. Compare approach angle, tip size and working clearance. Bent jaws can reach around an obstruction; straight jaws suit a direct approach when space allows.
Contents
- 1. What does a bent nose change during a gripping task?
- 2. When should a distributor lead with straight-nose pliers?
- 3. When is a bent nose worth adding?
- 4. How do reach, bend angle and tip size work together?
- 5. Does a smooth or serrated jaw make more difference?
- 6. Why should fine tips stay out of heavy prying jobs?
- 7. How should buyers inspect tip alignment and joint feel?
- 8. What information helps explain a bent-tip return?
- 9. Should a starter range include both nose shapes?
- 10. What should an importer include in the inquiry?
1. What does a bent nose change during a gripping task?
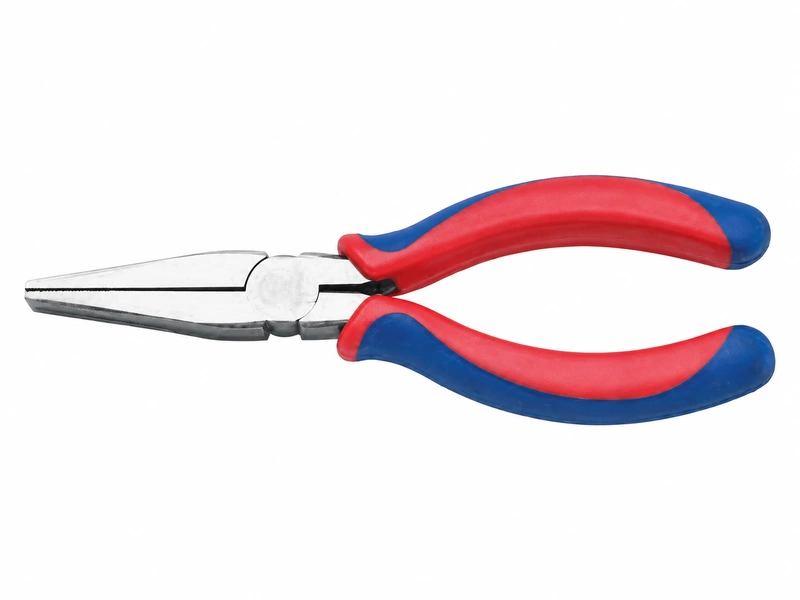
A bent nose moves the gripping tips away from the main jaw line. That can place the handles outside an obstruction while the tips approach a small part. Straight-nose pliers keep the jaws along a more direct path from the pivot.
Neither shape makes a tool universally more precise or stronger. Jaw length, cross-section, surface and joint condition also affect how a sample handles a part. A bent version with bulky tips can still miss a narrow opening.
Start with the route into the job. Ask where the part sits and where a hand can move. A hand tools assortment should distinguish access needs rather than grouping every narrow-jaw tool under one photograph.
- Is the approach direct or around a lip?
- Does the opening admit the jaw body?
- Can the handles open after insertion?
Sketch the obstruction and part location on the inquiry. That small drawing often explains the buying problem better than “long nose required.”
Access comparison
| Condition | Straight nose | Bent nose |
|---|---|---|
| Direct open approach | Worth sampling | May add unnecessary offset |
| Part behind a lip | Handles may interfere | Offset may improve approach |
| Narrow entry opening | Check full jaw envelope | Bend must also pass the opening |
2. When should a distributor lead with straight-nose pliers?
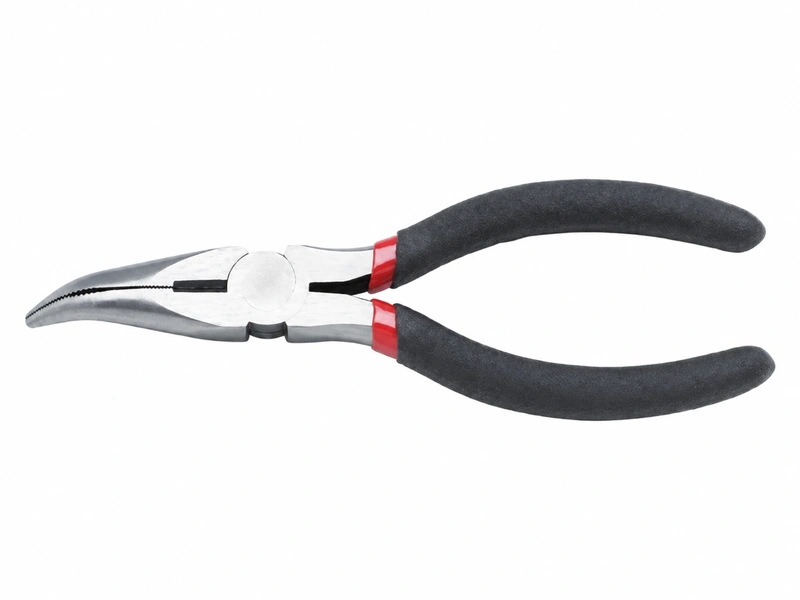
Straight-nose pliers are a sensible sample choice when a small part can be approached directly. A worker may need to pick up a washer, hold a loose wire coupon or position a small component on an open bench. The jaw shape keeps that movement easy to see and explain.
But “straight” does not identify tip width or gripping surface. One model may have broad flat contact areas while another ends in fine tapered tips. Their behavior on a thin washer can differ considerably.
Match the nose to the part size. Compare the area touching the sample rather than choosing the longest-looking jaws.
- Check whether the tips can get underneath the part.
- Observe whether both gripping faces contact it.
- Confirm that the part stays visible during placement.
The specialty pliers buying guide helps separate narrow gripping tools from dedicated cutters and strippers. Keep those functions distinct in sales descriptions. A narrow nose does not automatically make a tool suitable for every small electrical or mechanical task.
Direct-approach sample jobs
| Sample part | What to observe | Detail to specify |
|---|---|---|
| Small washer | Pickup and seating | Tip thickness |
| Loose wire coupon | Holding without unwanted distortion | Gripping surface |
| Small assembly piece | Visibility during positioning | Jaw width and taper |
3. When is a bent nose worth adding?
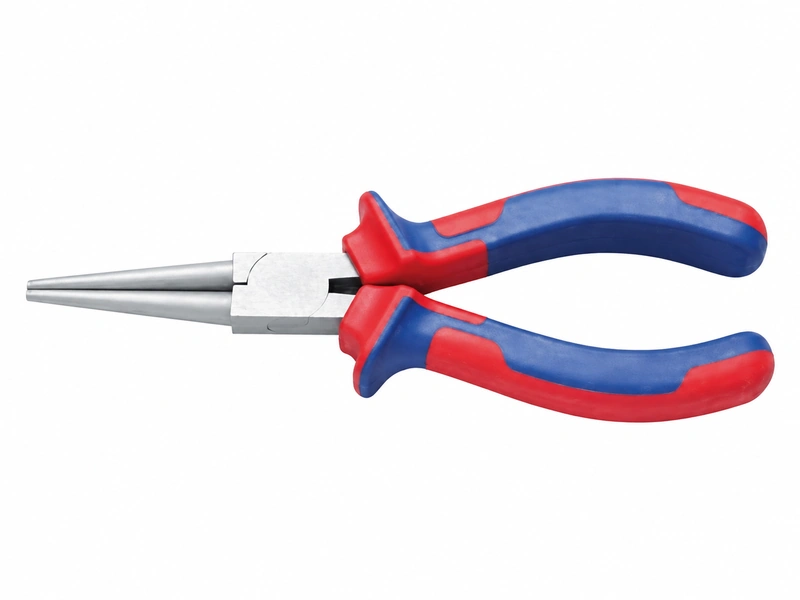
A bent nose can help when the operator needs to approach from the side or work around a nearby obstruction. Think of a small part behind a mounting flange. An offset may let the handles remain clear while the tips contact the part.
That example is a selection scenario, not a promise that a particular bend angle will work. A deeper recess may require more reach. A narrow entry may prevent a bent head from passing through at all.
Try the exit route too. A tool that enters a space can still struggle to withdraw while holding a component. Include removal in the sample task.
- Approach the representative part without forcing access.
- Close the jaws with normal hand clearance.
- Withdraw the tool and part through the available opening.
For a workshop repair range, record the actual obstruction rather than assigning a vague “engine bay” application. Different service locations can need different head envelopes, lengths or dedicated tools. One bent-nose SKU cannot establish complete repair coverage.
Offset selection check
| Access problem | Bent-nose question | Sample result to record |
|---|---|---|
| Lip blocks the handles | Does offset clear it? | Contact and handle position |
| Recess hides the part | Is working reach sufficient? | Visible gripping location |
| Narrow withdrawal path | Can the held part come out? | Removal clearance |
4. How do reach, bend angle and tip size work together?
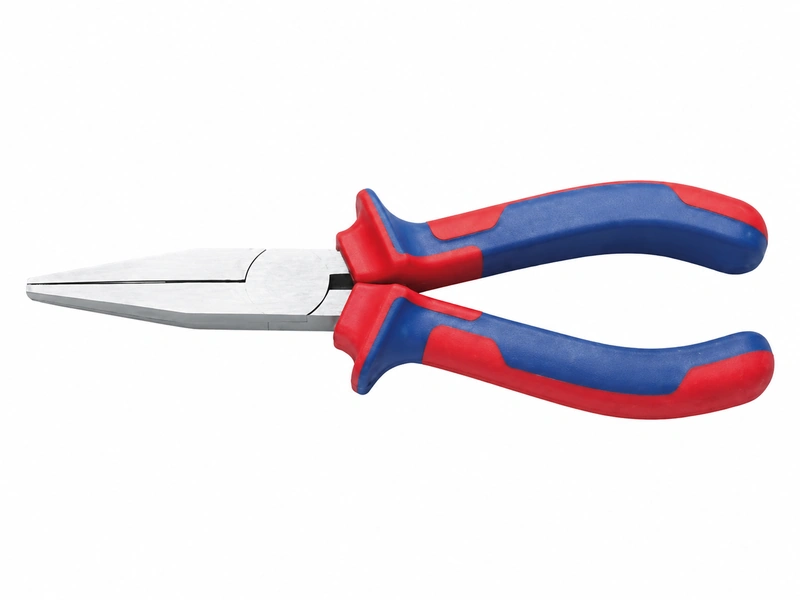
Overall length can hide the dimensions a buyer actually needs. Compare usable jaw reach, distance from the bend to the tip, tip thickness and head width. These define different parts of the access problem.
Two bent tools can share an advertised angle while reaching differently. One may bend closer to the pivot, leaving a longer working tip. Another may place a shorter tip beyond the bend. A single side photograph often conceals those differences.
Request a dimensioned nose drawing. Ask suppliers to show the same reference points on every offered variant. Avoid comparing angle figures measured in different ways.
- Overall length for storage and handling.
- Jaw reach from a defined reference.
- Bend location and stated angle convention.
- Tip width, thickness and usable opening.
When the task involves holding a prepared wire, use the wire stripping versus cutting guide for the separate preparation step. Reach dimensions cannot establish stripping or cutting capacity. Keep those claims tied to the correct working features.
Nose-dimension record
| Dimension | Buyer use | Common omission |
|---|---|---|
| Reach | Contacting a recessed part | Overall length substituted |
| Tip section | Entering a small gap | Width shown without thickness |
| Bend location | Clearing an obstruction | Angle listed without drawing |
5. Does a smooth or serrated jaw make more difference?
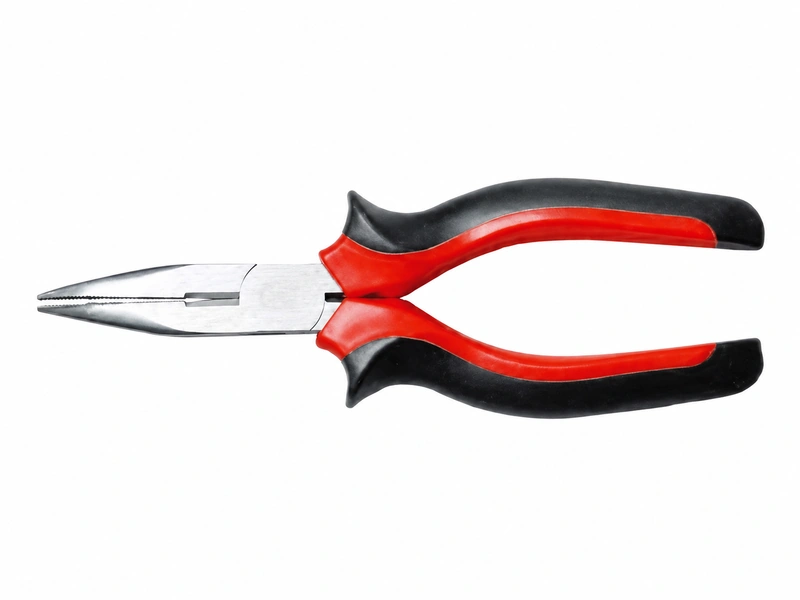
Jaw surface can change the result even when nose geometry stays the same. Serrations provide textured contact. Smooth jaws may suit tasks where tooth impressions are unacceptable, but they do not guarantee damage-free handling. Contact pressure, part material and tool condition still matter.
For a plated component, inspect visible marks after the sample task. For a small loose part, check whether it shifts during ordinary placement. A buyer may need separate SKUs for surface-sensitive assembly and general gripping.
Examine the workpiece after use. Photographing only the tool misses the result your customer will care about.
- Describe the actual gripping surface.
- Record whether finish marks are acceptable.
- Compare stability without excessive squeezing.
When arranging maintenance tool purchases, keep surface requirements beside the task. “Precision” printed on a package is too broad to settle that decision. Approve the contact result against the chosen part rather than against a general impression of tool quality.
Surface selection table
| Requirement | Sample comparison | Approval record |
|---|---|---|
| Minimal visible marks | Smooth and suitable alternative jaws | Part photographs |
| Stable small-part holding | Contact surface and part movement | Defined placement task |
| Repeated delicate work | Tip condition after trial | Accepted surface limits |
6. Why should fine tips stay out of heavy prying jobs?
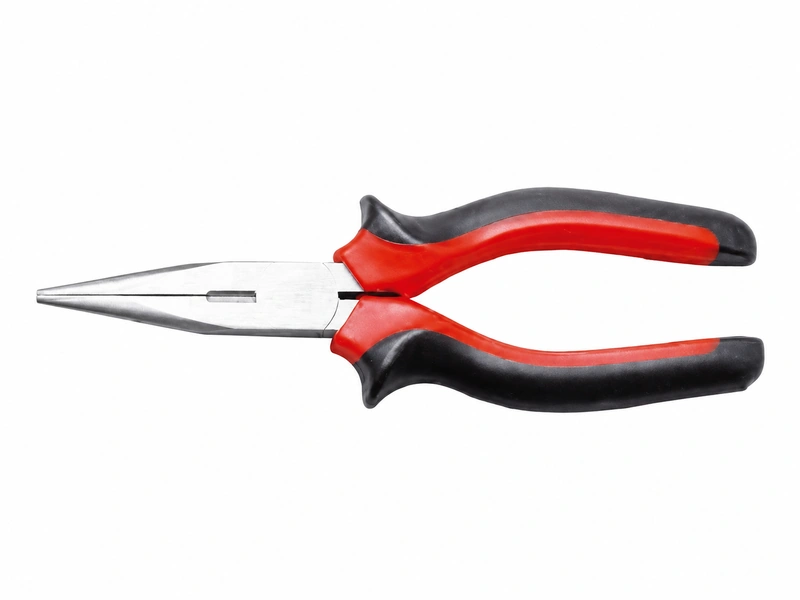
Narrow jaws help reach small parts, but that useful shape can be damaged by inappropriate force. A long, slim nose should not be sold as a pry bar. Bending stiff wire or forcing a stuck component with fine tips can bend or break them.
Keep gripping, forming and cutting claims separate. Some pliers include cutters; others do not. The presence of a cutting edge still requires its own material and capacity documentation. Handle color also cannot establish electrical insulation.
Describe the permitted operation. A customer holding a small connector body needs different guidance from someone forming a heavy wire.
- Specify approved materials for any forming task.
- Keep prying and improvised handle extensions outside the description.
- Confirm cutting features separately where fitted.
For terminal assembly, consult the crimping tool selection guide. Narrow gripping pliers do not replace the matched die and controlled forming action needed by a terminal. Showing both tools near wire in a catalog should not blur their separate purposes.
Function boundaries
| Intended job | What must be confirmed | Unsupported assumption |
|---|---|---|
| Hold a small part | Jaw fit and contact result | Fine tips tolerate prying |
| Form suitable wire | Model-specific material limit | All wire is equally workable |
| Cut wire, if equipped | Named cutter capacity | Every long-nose plier has cutters |
7. How should buyers inspect tip alignment and joint feel?
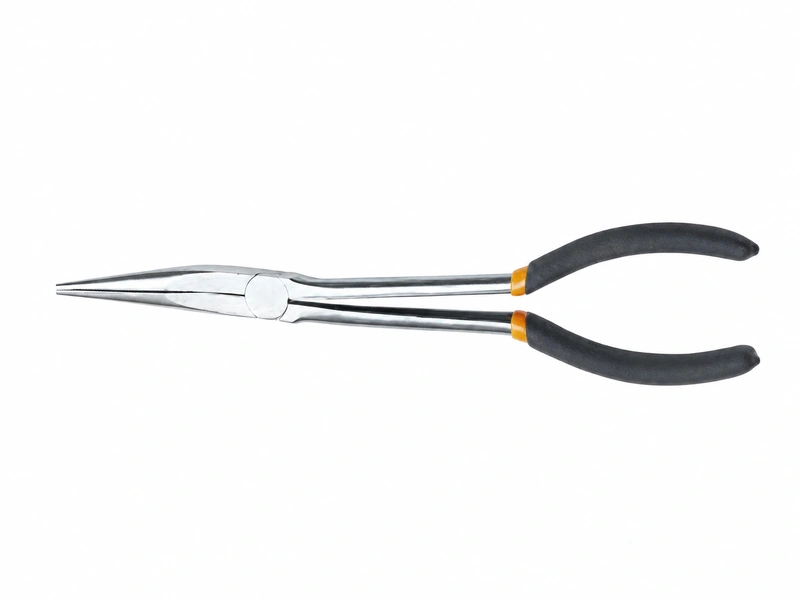
Use the manufacturer’s drawing and accepted sample to define jaw condition. Compare both sides of the nose and check for damage, burrs or deformation. Do not invent a universal “zero gap everywhere” rule that ignores the tool’s intended geometry.
Then handle the tool through its normal movement. Check opening, closing and any return spring. A joint that binds during a light placement job can make a small part difficult to position even when the tool looks neat.
Inspect against a defined task. Ask each evaluator to pick up, position and release the same representative component. Keep subjective comments separate from observed defects.
- Record tip geometry and condition.
- Compare normal joint movement.
- Observe component movement during release.
- Check fitted springs and handle covers against the variant.
Ask about supplier quality background, then request product-specific inspection criteria. A company description does not tell the warehouse which jaw condition is acceptable. A labeled master sample and clear close-ups provide a better receiving reference.
Sample inspection record
| Check | Evidence | Escalation |
|---|---|---|
| Nose condition | Both-side and tip photographs | Bent, chipped or burred features |
| Joint movement | Normal opening and closing | Binding or erratic operation |
| Placement task | Same component for each sample | Part slips or cannot be released |
8. What information helps explain a bent-tip return?
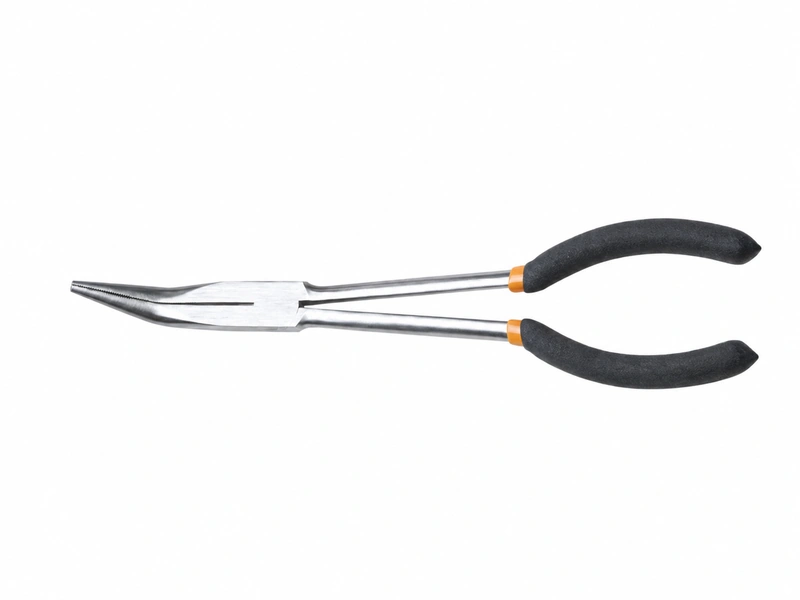
A bent tip on a returned tool needs a careful review. It may relate to product condition, an unsuitable task or loading outside the stated use. The damage alone cannot establish which explanation applies.
Ask what the customer was holding, how the tool approached it and whether the part moved freely. A photograph of the work area can show an obstruction that a close-up of the damaged tool misses. Retain the returned item if further inspection is needed.
Record the sequence without guessing blame. Describe what was observed and what remains unknown. That keeps the discussion useful for both supplier and customer.
- Exact variant and batch identifier.
- Part material, shape and task.
- Access restrictions and contact location.
- Damage photographs and any earlier sample record.
Use that information when planning a mechanics tool set. A fine-tip tool should have a clear role in the kit. If buyers repeatedly expect heavier gripping, review the assortment and description instead of adding a stronger-sounding adjective to the same product.
Return review table
| Reported problem | Missing detail to request | Possible review area |
|---|---|---|
| Bent tip | Workpiece and loading task | Suitability and condition |
| Lost grip | Jaw surface and contact position | Geometry and surface |
| Cannot reach part | Entry and handle clearance | Access selection |
9. Should a starter range include both nose shapes?
Include both when direct and offset access occur regularly in the target channel. Straight and bent variants should solve different access problems or serve different part sizes. Two nearly identical tools can consume shelf space without adding useful coverage.
Build a simple access board with the recurring parts and obstructions supplied by customers. Compare samples on that board during range review. It can expose a missing tip thickness or reach more clearly than a row of catalog lengths.
Justify the next SKU with a new job. Ask which component becomes reachable, visible or easier to release. If nothing changes, consider whether another size adds value.
- Direct access with a clearly visible part.
- Offset access around a known obstruction.
- Surface-sensitive or unusually small components.
Keep the board and identified samples available for reorder checks. A supplier’s proposed replacement can share the same name while changing tip thickness or bend location. Those details can remove the very access benefit that justified the original SKU.
Assortment review
| Variant | Job to demonstrate | Reorder detail |
|---|---|---|
| Straight nose | Direct pickup and placement | Tip section and reach |
| Bent nose | Access around an obstruction | Bend location and envelope |
| Additional fine-tip model | Smaller defined component | Tip dimensions and permitted task |
10. What should an importer include in the inquiry?
Send an access sketch with dimensions and a sample-part photograph. Identify the desired gripping surface and whether the task includes holding, positioning or permitted forming. Include any separate cutting requirement rather than assuming it comes with the tool.
Ask suppliers to identify each offered variant with a dimensioned drawing and current photographs. Separate tool requirements from handle color, packout and private-label artwork. Request written approval before any change to nose geometry or construction.
Approve the part-and-access trial before the package design. A clear sample result should support the SKU description your sales team will use.
- Part dimensions, material and acceptable marks.
- Entry opening and surrounding obstructions.
- Nose reach, tip section and bend convention.
- Sample acceptance and substitution controls.
Send the brief through the contact page. Ask for separate responses to each dimension and application condition. A quotation that says only “bent-nose pliers” leaves the details deciding access unresolved.
Q1: Are bent-nose pliers better than straight-nose pliers?
Choose by approach and clearance. Bent jaws can help around obstructions; straight jaws suit a direct path when space allows.
Q2: Does overall length tell me working reach?
No. Request jaw reach, bend location and tip dimensions using defined measurement references.
Q3: Will smooth jaws leave no marks?
They can avoid tooth impressions, but contact pressure and part material still affect the result. Inspect a representative sample part.
Q4: Can fine long-nose tips pry out a stuck part?
Use a tool designed for that operation. Fine tips can be damaged by inappropriate prying or heavy bending.
Q5: What must stay consistent on reorders?
Maintain the approved tip section, reach, bend geometry, gripping surface and construction. Review proposed substitutes against the same access trial.
Looking for a reliable mechanic tools manufacturer in China?
If you are sourcing hand tools, socket tools, automotive repair tools, mechanic tool sets or OEM private label tools, contact KOLARWIN Tools for factory-direct quotation, customization support and product consultation.