Need OEM supplier support for this product type?
Contact KOLARWIN Tools for OEM mechanic tools, private label packaging, wholesale quotation and product range support. This gives overseas buyers a clear path from article reading to supplier discussion.
Choosing a bearing puller by jaw count or headline force can leave poor engagement. This guide helps U.S. distributors, importers, service chains, and private-label buyers specify grip, access, dimensions, force path, and application. See KOLARWIN’s automotive repair tools and broader automotive tool range for category context.
Contents
- What types of bearing pullers are available?
- How do two-jaw and three-jaw pullers differ?
- When should you use an internal or blind puller?
- Why would you choose a bearing separator?
- When do slide-hammer and hub pullers make sense?
- When should a hydraulic puller or press be specified?
- How should buyers match reach, spread, and alignment?
- What safety checks should every puller program include?
- How should distributors build a puller assortment?
- How can a buyer approve a bearing-puller program?
What types of bearing pullers are available?
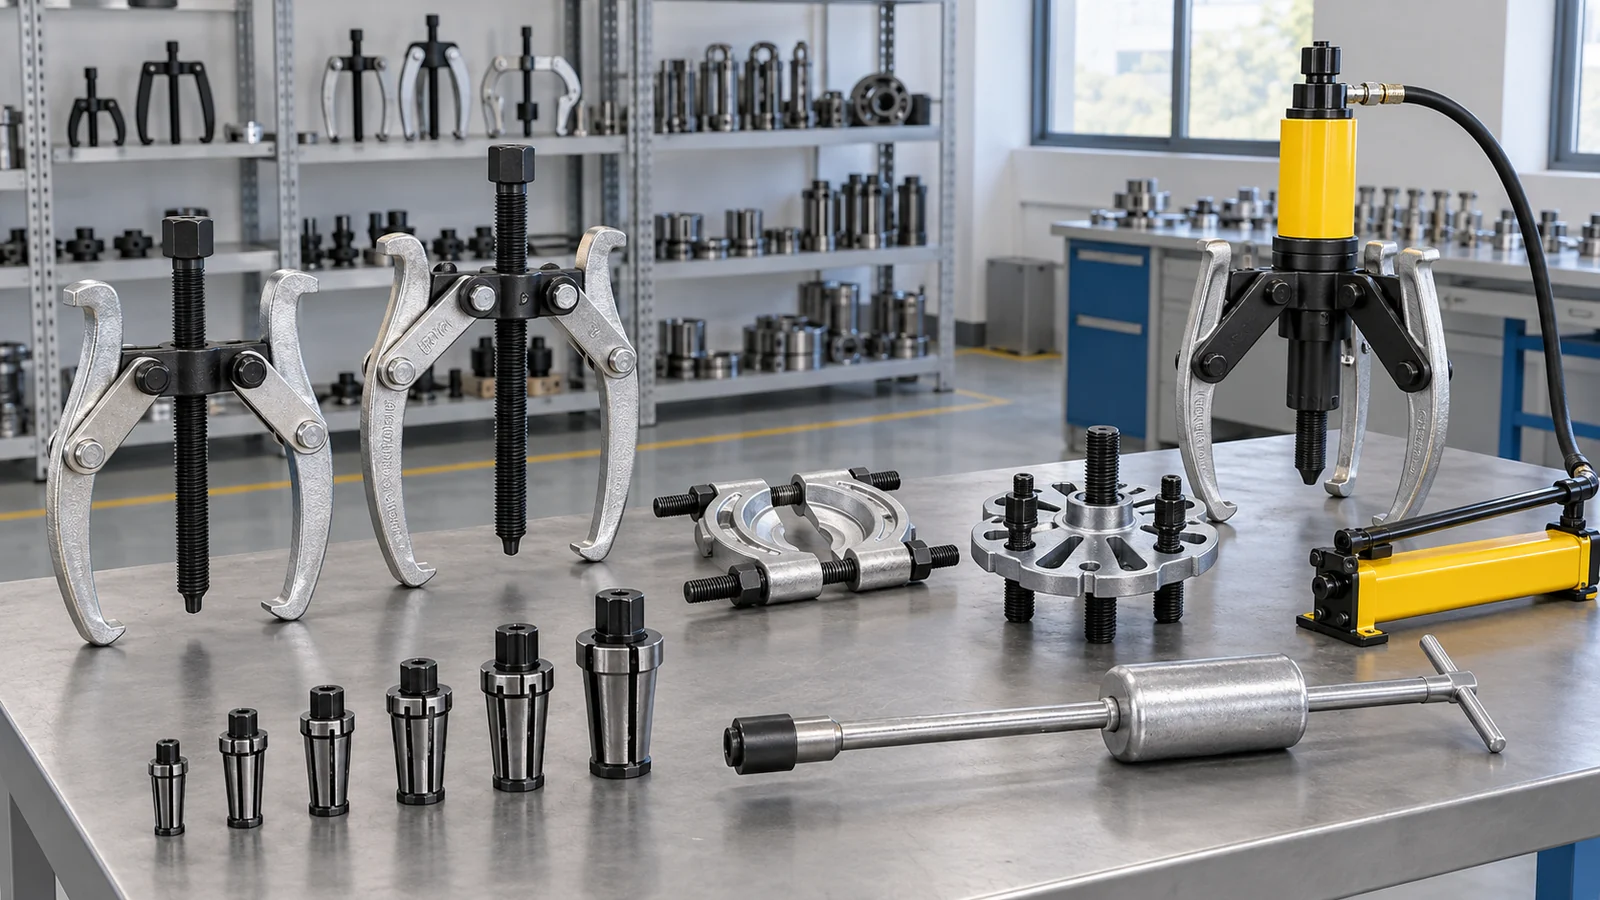
The phrase “types of bearing pullers” covers several force paths. External jaws hook behind an exposed ring or hub. Internal tools expand inside a bore. Separators create a reaction surface under flat components. Slide hammers add axial impact, while hub, hydraulic, and press systems match defined applications. Bodywork products follow a different selection path; this bodywork puller guide explains that separate category.
The ring being removed guides the choice. For an interference fit on a shaft, load the inner ring. For an outer ring in a housing, reach and support that ring or use designed push-out features. Force through rolling elements can mark raceways.
Useful starting questions include:
- Is the target an inner ring, outer ring, cup, hub, sleeve, or seal?
- Can a jaw reach behind the target with full seating?
- Does the housing provide a counter-stay support surface?
- Are spread, reach, bore, thread, and adapter dimensions documented?
A sensible buying decision starts with the interface, then selects the mechanism. Exposed shafts, blind housings, wheel hubs, and corroded assemblies need different load paths.
Practical action: Add target ring, access, measured dimensions, and force method to every RFQ. Ask for a drawing and application guide before accepting a catalogue photograph as proof of fit.
Decision table: puller family by service condition
| Service condition | Suitable starting family | Buyer check | Main risk to control |
|---|---|---|---|
| Exposed inner ring on a shaft | Two- or three-jaw puller, or separator | Inner-ring shoulder, reach, spread, rating | Off-center loading or jaw slip |
| Outer ring in a blind housing | Internal puller or blind-housing system | Bore, grip depth, wall and support space | Poor segment engagement |
| Flat component with little jaw clearance | Bearing separator with puller drive | Blade thickness, seating depth, rating | Blade movement or shaft damage |
| Large tight or corroded assembly | Hydraulic puller or guarded press | Complete-set rating and support | Overload or release |
How do two-jaw and three-jaw pullers differ?
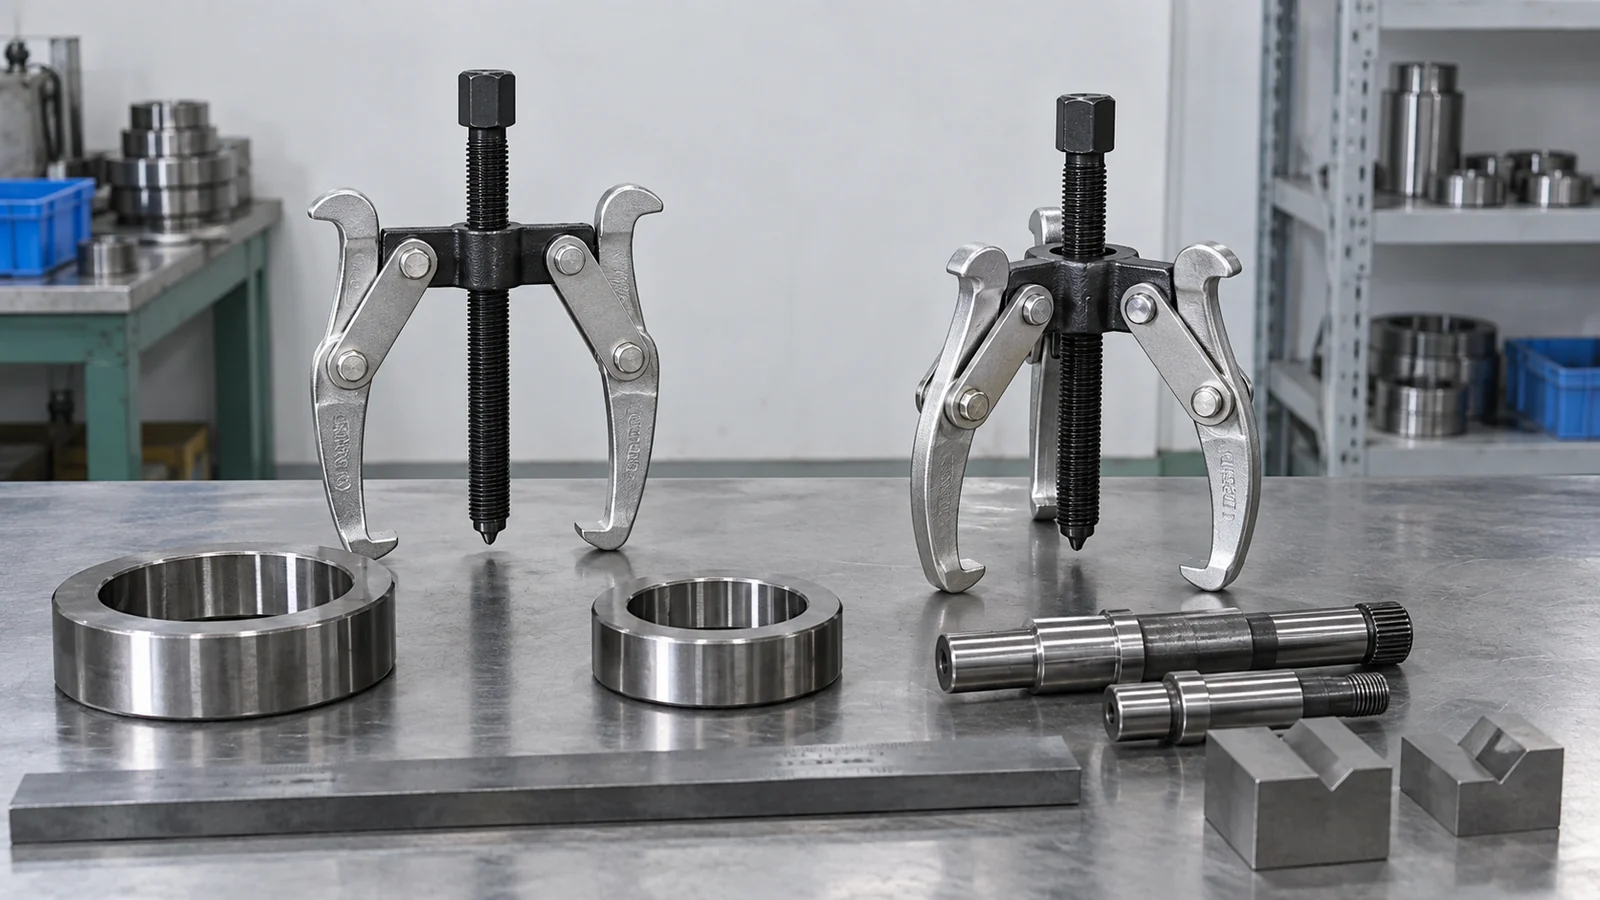
Two-jaw and three-jaw pullers both use claws behind an exposed component. A two-jaw head suits limited radial access. A three-jaw head can improve grip when all claws seat evenly.
Jaw count does not establish strength. A long leg, thin tip, poor shoulder, or wrong forcing screw can govern the result. The supplier should state rated configuration, effective reach, spread, maximum spindle torque or pressure, and long-jaw restrictions.
Check these details on a sample or drawing:
- Measure usable spread rather than total outside diameter.
- Confirm each claw sits behind the same ring or shoulder.
- Check tip thickness against seals, spacers, and shoulders.
- Prefer the shortest reach that clears adjacent parts.
The best jaw choice keeps every contact point loaded evenly. If a claw touches first or a leg tilts, choose another geometry or puller family.
Practical action: Request a drawing showing jaw tip thickness, reach, spread, and a fully seated example on the intended bearing series.
Decision table: two-jaw versus three-jaw specification
| Criterion | Two-jaw configuration | Three-jaw configuration | RFQ evidence |
|---|---|---|---|
| Radial access | Can suit two clear opposing shoulders | Needs room for three claws | Clearance sketch or sample photos |
| Load distribution | Depends on balanced opposing contact | Can distribute load around a suitable circle | Seating requirement and rating |
| Alignment | Requires careful centering by the operator | May self-center better in some designs | Centering feature description |
| Common failure | One jaw slips or bends | One jaw carries excess load | Inspection and stop-use guidance |
When should you use an internal or blind puller?
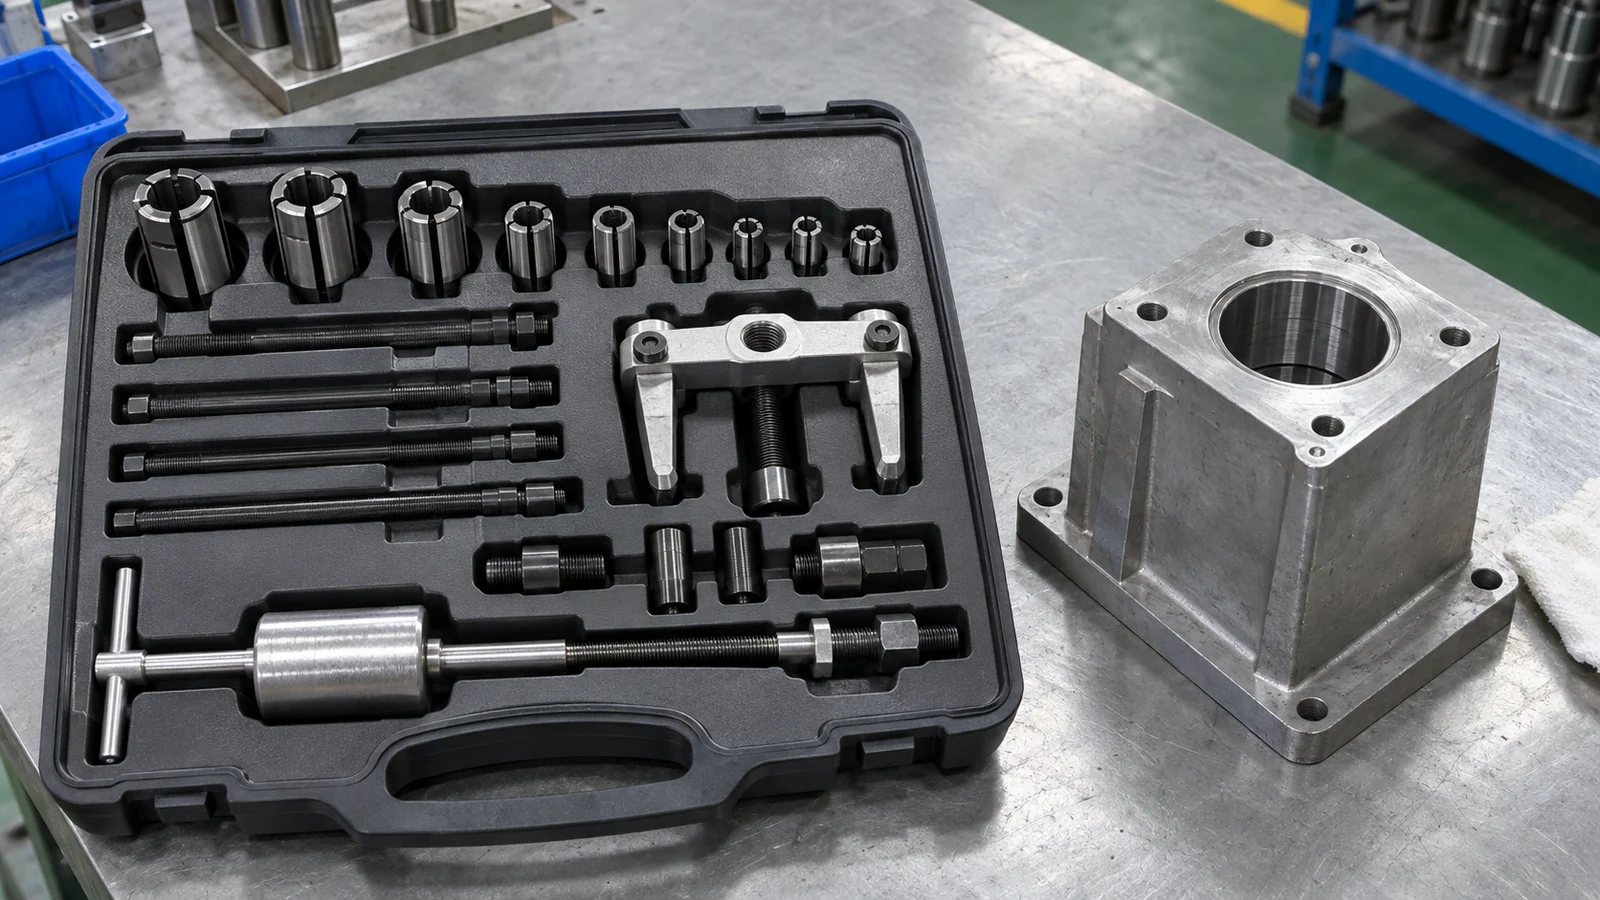
An internal or blind puller grips inside a bore when external claws cannot get behind a cup, outer race, sleeve, bushing, or seal. Segments or collets expand behind the target. A counter stay supplies reaction; a slide hammer works where no support surface exists.
The bore range alone does not prove compatibility. The tool must expand behind the correct ring, maintain wall engagement, and clear the housing. Raceway geometry can differ between bearing brands, so a blind-housing range stays tied to named models and applications.
Before quoting a blind kit, record:
- Bore diameter and target ring width.
- Housing depth, wall thickness, shoulder, or chamfer.
- Grip depth behind the ring and expansion clearance.
- Counter-stay distance or approved slide-hammer thread.
Blind work rewards careful measurement because the rear claw cannot be watched. A collet barely catching an edge can release or mark a housing under load.
Practical action: Ask the buyer for a bore-and-section sketch or a sample component. Match that evidence against the collet, segment, driver thread, and support-surface requirements before selecting a SKU.
Decision table: internal puller fit
| Question | If the answer is yes | If the answer is no |
|---|---|---|
| Can the segments expand behind the target ring? | Continue with internal-puller review | Select another bore range or method |
| Does a counter stay have a firm support surface? | Use the specified counter-stay setup | Check an approved slide hammer |
| Does the grip match the ring geometry? | Verify load path and clearance | Do not assume nominal bore fit |
| Does the driver thread match? | Confirm complete assembly rating | Add the correct adapter or change kit |
Why would you choose a bearing separator?
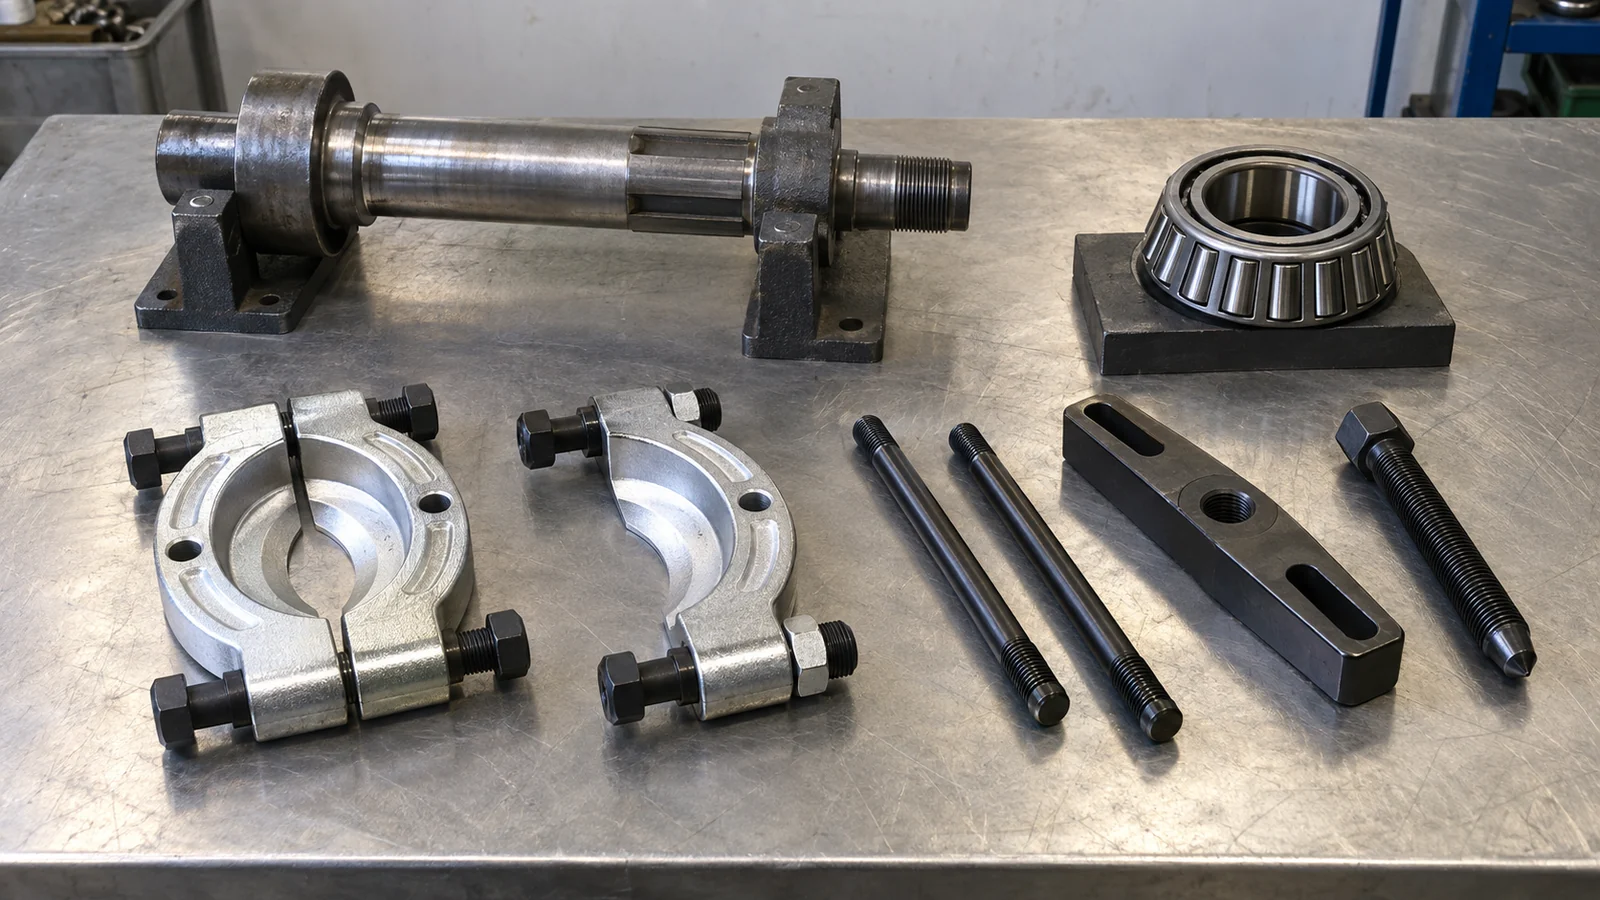
A bearing separator uses wedge-shaped blades behind a flat-bottomed bearing, gear, pulley, or inner ring. It helps when ordinary jaws cannot reach a shoulder, then connects with a puller or hydraulic drive.
Correct seating matters more than appearance. Blades should sit fully behind the target, tighten evenly, and engage puller studs as specified. Each extension or hydraulic spindle still needs a matching rating and thread.
Use this checklist at the quoting stage:
- Minimum blade thickness and usable separation width.
- Depth behind the component and shaft shoulder clearance.
- Blade angle, contact surface, and seating instruction.
- Puller stud or hydraulic attachment thread.
A separator earns its place when access, rather than force, blocks a normal jaw. It should create a clean reaction surface without forcing a blade onto a chamfer or a fragile seal lip.
Practical action: Send a section drawing showing the blade entry point, shaft shoulder, component width, and nearby obstructions. Approve the setup only after the supplier confirms full seating at working dimensions.
Decision table: separator selection
| Measurement or condition | Good indication | Warning sign |
|---|---|---|
| Blade entry thickness | Blade passes behind a flat shoulder | Blade rests on a chamfer or seal |
| Blade seating depth | Full contact behind the component | Only a narrow edge engages |
| Drive connection | Studs and threads match | Adapter is improvised |
| Complete rating | Separator and puller ratings agree | Accessory rating is lower or unknown |
When do slide-hammer and hub pullers make sense?
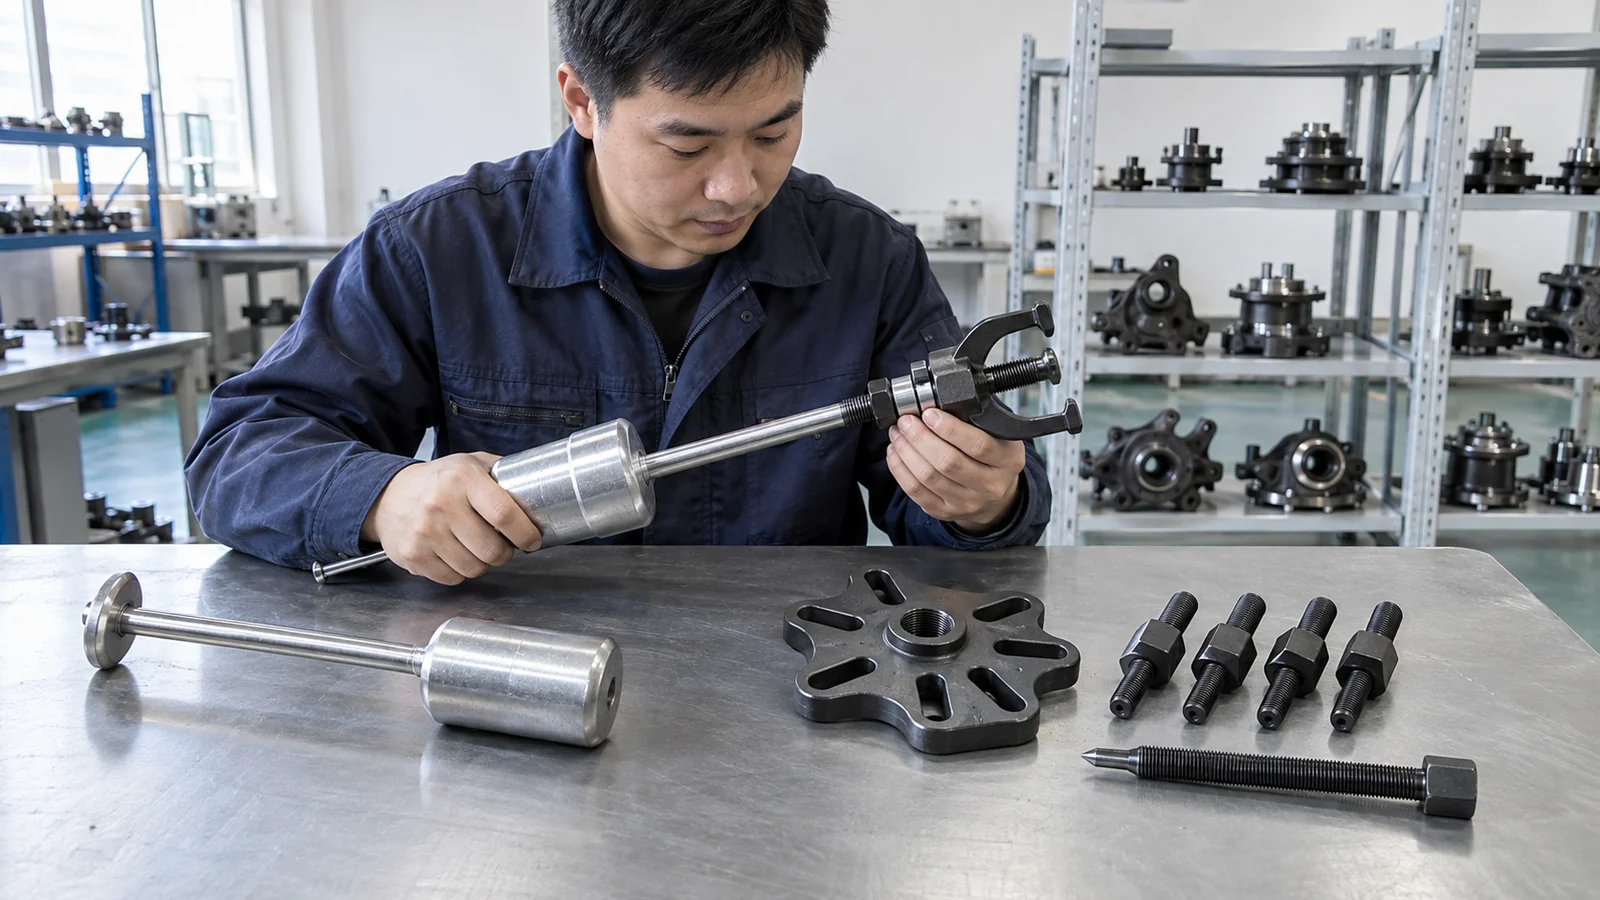
A slide hammer supplies axial impulses through an internal collet, reversible jaws, or approved hooks. It suits pilot bearings, cups, seals, and blind work without a counter stay. A hub puller anchors through a specified stud pattern, flange, axle, or housing contact.
Impact energy needs a stated hammer mass, rod, thread, and attachment. OTC’s blind-bearing example uses a 2.5 lb slide hammer with listed collets; that data belongs to its configuration. A hub tool needs make, model, year, drive, hub generation, bolt circle, and service position.
For a hub or slide-hammer line, verify:
- Approved spread ranges for each jaw arrangement.
- Hammer mass, rod thread, retaining parts, and replacements.
- Vehicle application guide, adapter list, and on-vehicle limits.
- Clearance around ABS components, knuckle, axle, and seals.
A slide hammer solves missing reaction support; a hub puller solves a defined vehicle load path. Keep them as separate families.
Practical action: Build a fit matrix using vehicle make, model year, drive, hub pattern, adapter, and removal position. Require the same fields on packaging, application guides, and private-label listings.
Decision table: slide hammer or hub puller
| Job condition | Starting tool | Required evidence | Typical selection error |
|---|---|---|---|
| Blind pilot bearing | Internal collet and slide hammer | Collet range and approved hammer setup | Collet does not seat behind race |
| Bearing cup without support surface | Internal jaws and slide hammer | Jaw spread, reach, rod thread | Impact used with weak grip |
| Listed truck hub on vehicle | Vehicle-specific hub puller | Make/model/year, pattern, adapter | Wrong bolt pattern or clearance |
When should a hydraulic puller or press be specified?
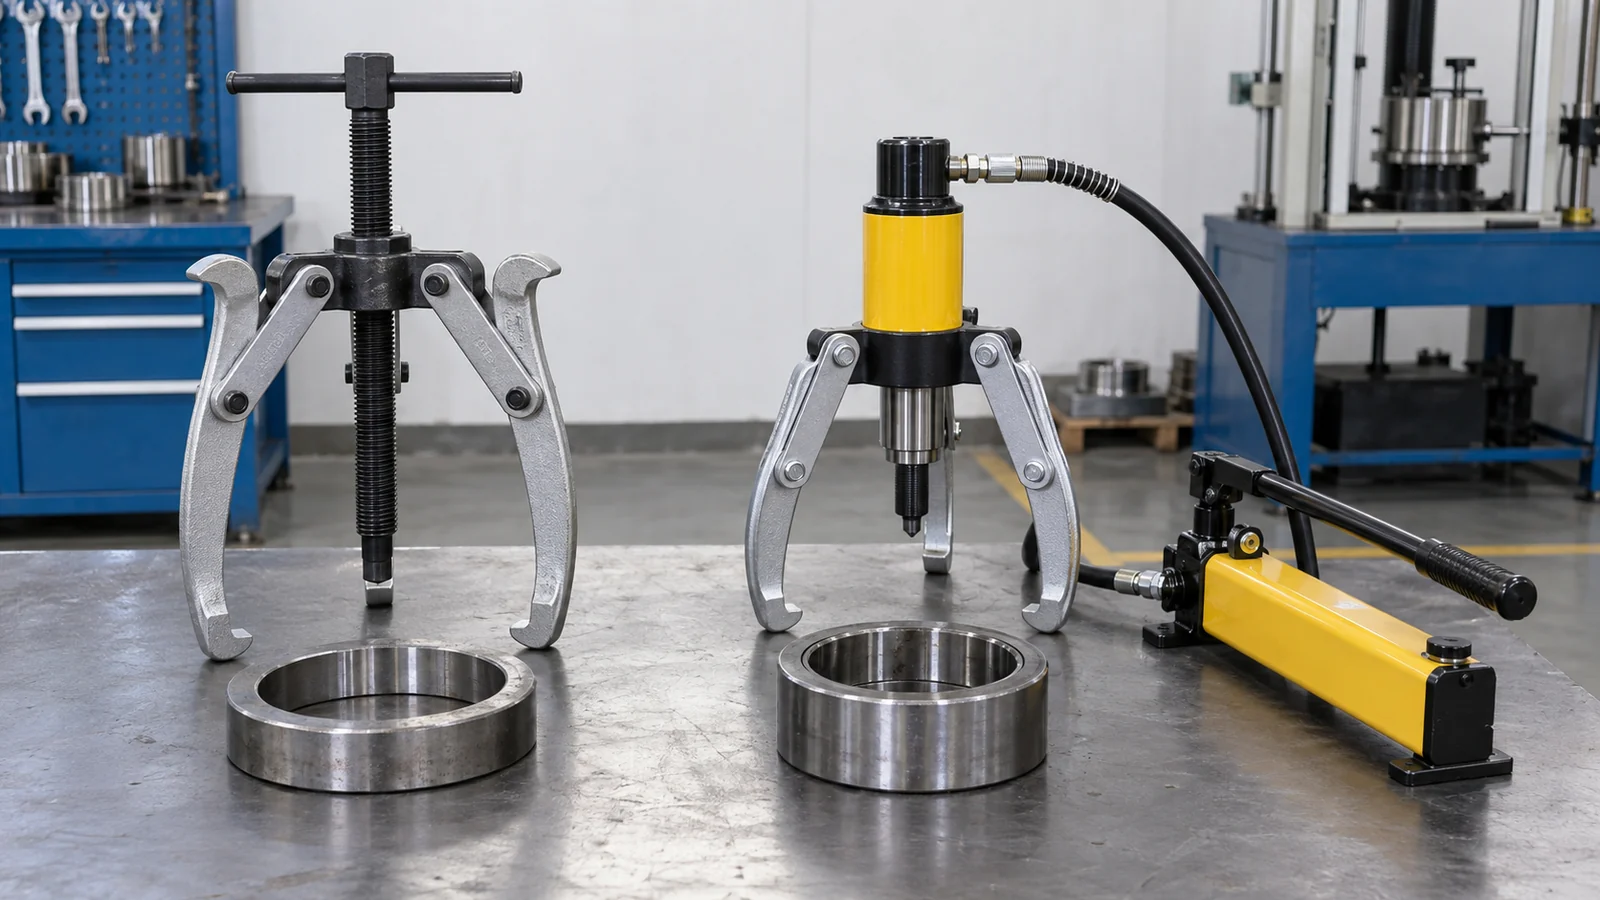
Hydraulic pullers and guarded presses suit large, tight, corroded, or production-maintenance assemblies when a mechanical spindle cannot provide controlled movement. Hydraulic force still travels through jaws, separators, cups, crossheads, hoses, a pump, and a cylinder. Capacity, reach, and spread remain separate specifications.
A press or puller needs a straight load path, stable support, suitable plates or attachments, and required shielding. The workpiece must stay supported as stored stress releases. Force depends on mating area, fit, attachment, corrosion, and alignment.
Ask for these hydraulic or press details:
- Complete assembly rating and lowest-rated component.
- Maximum pressure, stroke, reach, spread, and relief method.
- Pump, hose, gauge, couplings, seals, and bleed procedure.
- Plates, cups, separators, adapters, and support dimensions.
Controlled force only helps when every component shares the same load path. A lower-rated separator still limits a high-capacity cylinder.
Practical action: Request a configuration drawing that labels cylinder, attachment, hose, gauge, pump, and pressure limit. Record the rated combination in the purchase order, including any reach or attachment derating.
Decision table: hydraulic or press purchase review
| Buyer need | Suitable direction | Evidence to request | Stop condition |
|---|---|---|---|
| Large shaft-mounted bearing | Hydraulic puller with correct ring attachment | Complete rating, stroke, reach, spread | Attachment rating is missing |
| Stable workshop support | Guarded press and matched cups or plates | Throat, support, alignment, guard | Workpiece cannot sit square |
| Corroded assembly | Controlled hydraulic setup | Pressure limit and retaining method | Force path shifts or tool tilts |
How should buyers match reach, spread, and alignment?
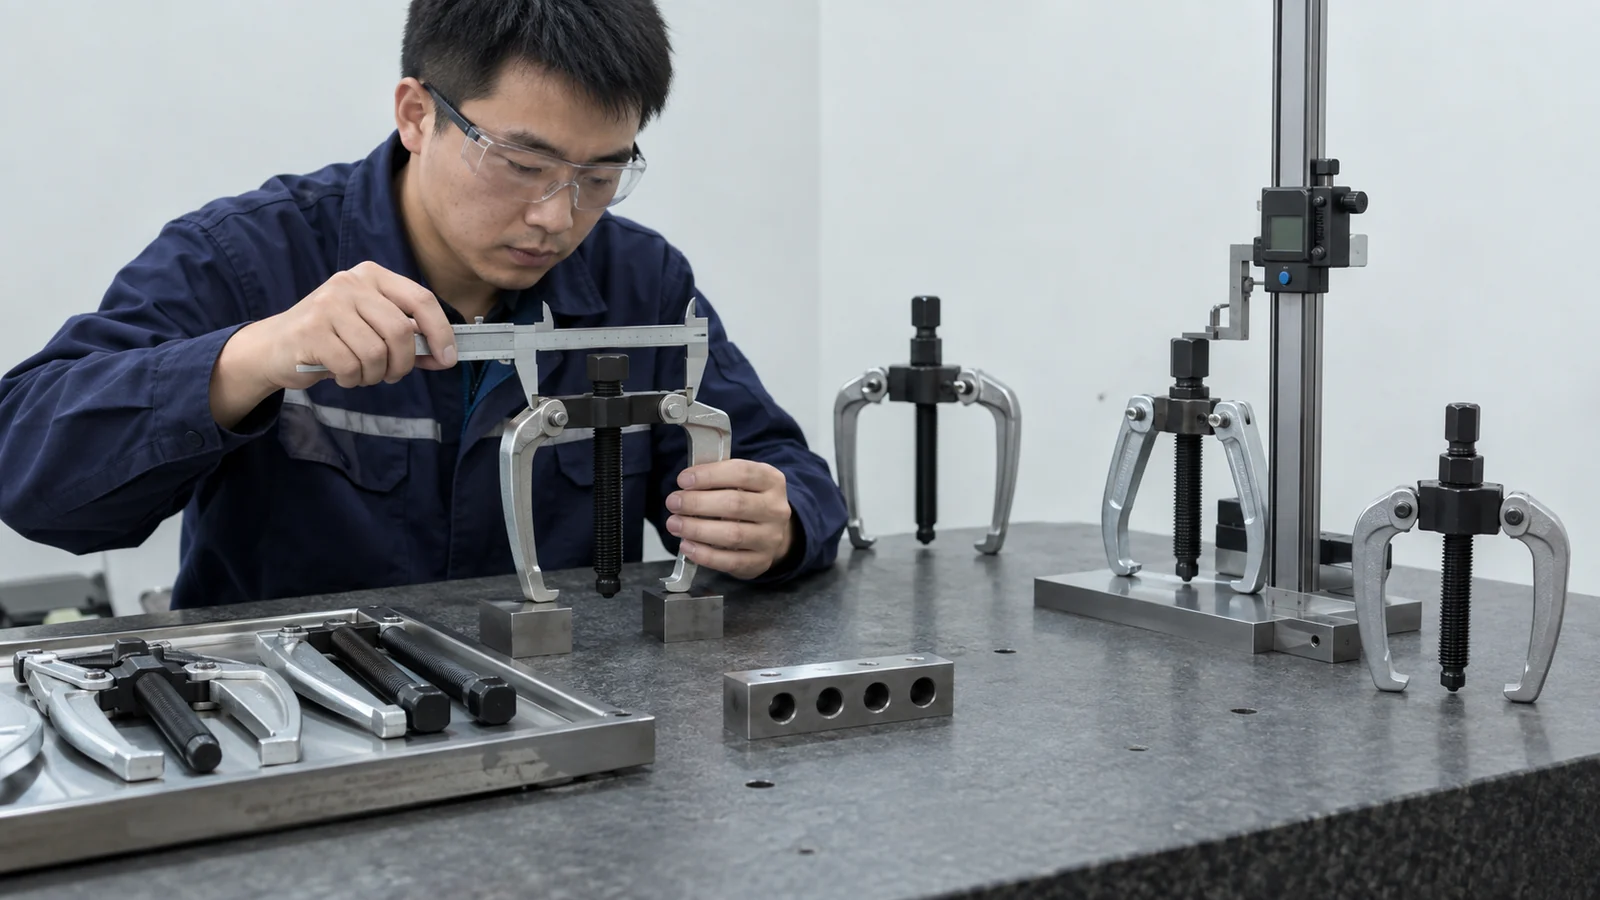
Reach measures depth from reaction surface toward the puller head. Spread measures grip width. Neither replaces a drawing of the actual ring, because a puller may span an outside diameter yet miss a usable shoulder. Alignment keeps the forcing screw or cylinder on the shaft axis.
Use the shortest practical legs or reach. This reduces bending moment and helps keep the centerline square. Check axial room, radial room for each leg, and the shaft shoulder or housing edge carrying reaction force. On a hub tool, check flange, stud, or adapter geometry.
Record these dimensions before a quote:
- Usable spread at exact contact points.
- Effective reach from shoulder to crosshead.
- Jaw or blade thickness and reaction depth.
- Shaft diameter, shoulder height, bore, housing depth, or bolt circle.
Dimension discipline prevents a catalogue range from replacing a fit check. Full engagement matters more than a larger outside diameter.
Practical action: Add a dimensioned interface sketch to the sample approval file. Photograph the tool fully seated and square on the target part, then retain that image with the SKU record.
Decision table: dimension and alignment checks
| Check | Acceptance question | Why it matters |
|---|---|---|
| Spread | Do all jaws or blades sit at the intended width? | Prevents edge loading and slip |
| Reach | Does the contact surface sit behind the correct ring? | Protects the force path |
| Tip thickness | Can the jaw enter without touching a seal or shoulder? | Avoids interference and damage |
| Centerline | Does the screw or cylinder remain square? | Reduces bending and tilt |
What safety checks should every puller program include?
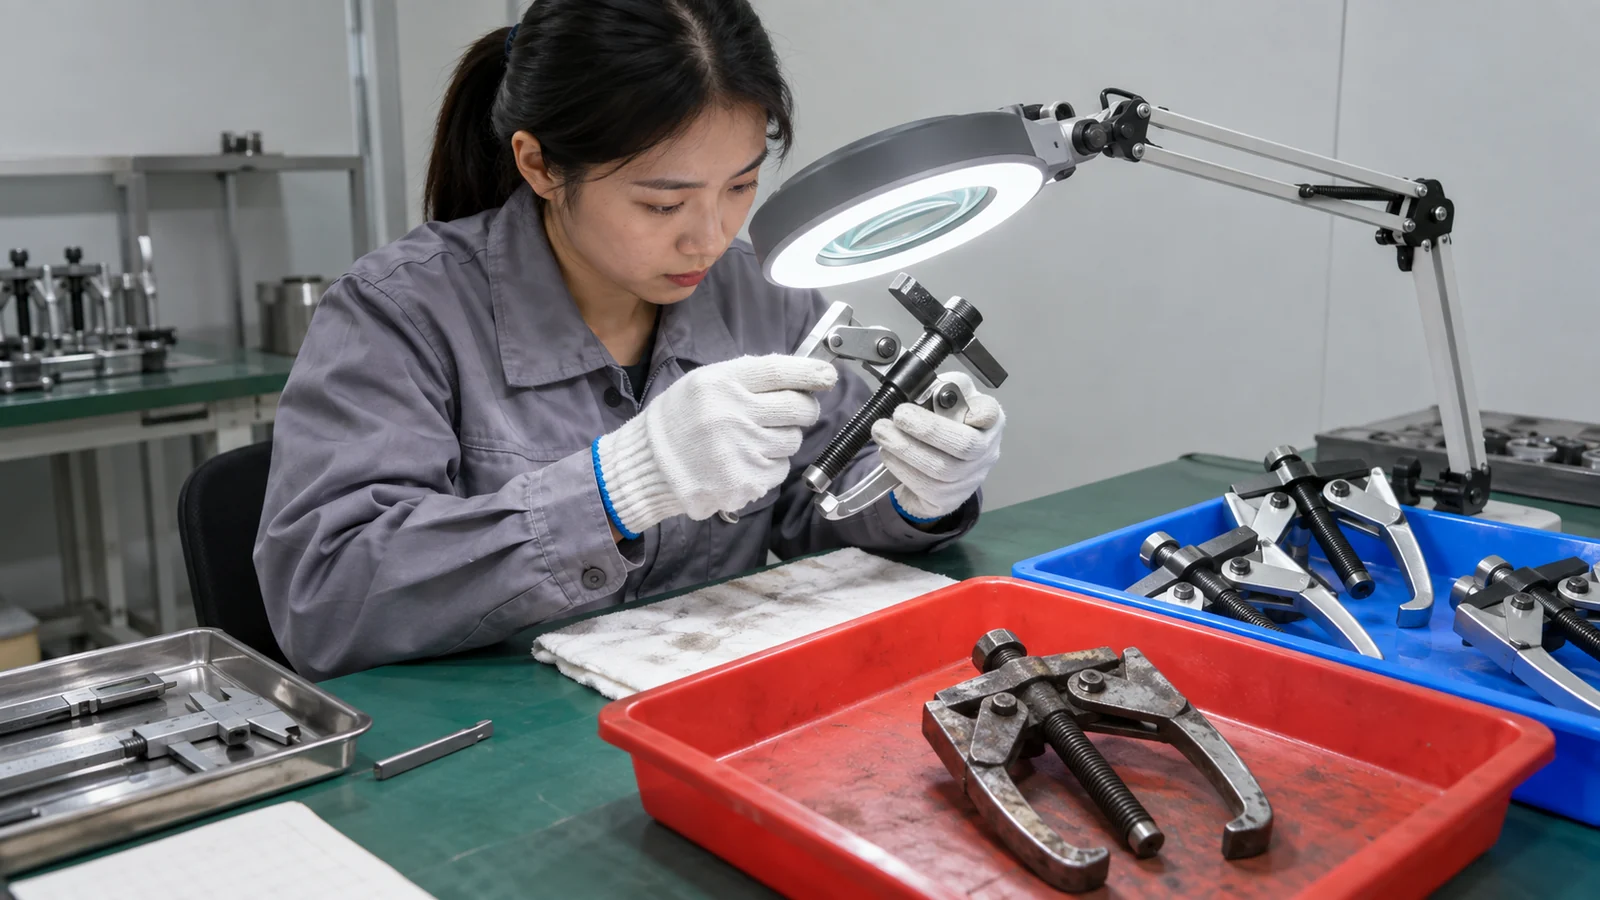
Puller safety begins with stored energy, tool condition, alignment, and a stop rule. OSHA’s hazardous-energy requirements apply within their workplace scope when unexpected release could injure employees. Machine guarding also matters around presses. Workplace rules do not replace supplier instructions.
OTC, SKF, and Timken guidance points to the same habits: inspect the tool, fully engage claws, use eye protection, apply force gradually, and shield the work. Do not strike a loaded puller, add an unapproved extension, modify a leg, or use an impact wrench unless instructions permit it. Heating and cutting a loaded bearing need a controlled procedure.
Include these checks in an English instruction set:
- Inspect jaws, legs, threads, pins, separators, hoses, gauges, and couplings.
- Confirm the lowest-rated component and allowed pressure or spindle torque.
- Lock out applicable energy and stabilize the workpiece.
- Keep the puller square, use short reach, and shield the setup.
A clear stop rule protects both the operator and the private-label program. If engagement or alignment changes under load, release pressure safely and reassess the method before adding force.
Practical action: Make a one-page pre-use checklist part of every kit. During sample approval, verify that markings, instructions, PPE notes, inspection points, and stop conditions match the physical tool.
Decision table: safety content for a puller SKU
| Safety item | What the buyer should see | Evidence to retain |
|---|---|---|
| Inspection | Cracks, bends, galling, wear, leaks, and thread checks | Approved manual and sample review |
| Load limit | Complete configuration and lowest-rated part | Drawing and rating record |
| Alignment | Full claw engagement and square force path | Seated sample photo |
| Stop conditions | Slip, tilt, deformation, leak, or unexpected movement | Operator checklist |
How should distributors build a puller assortment?
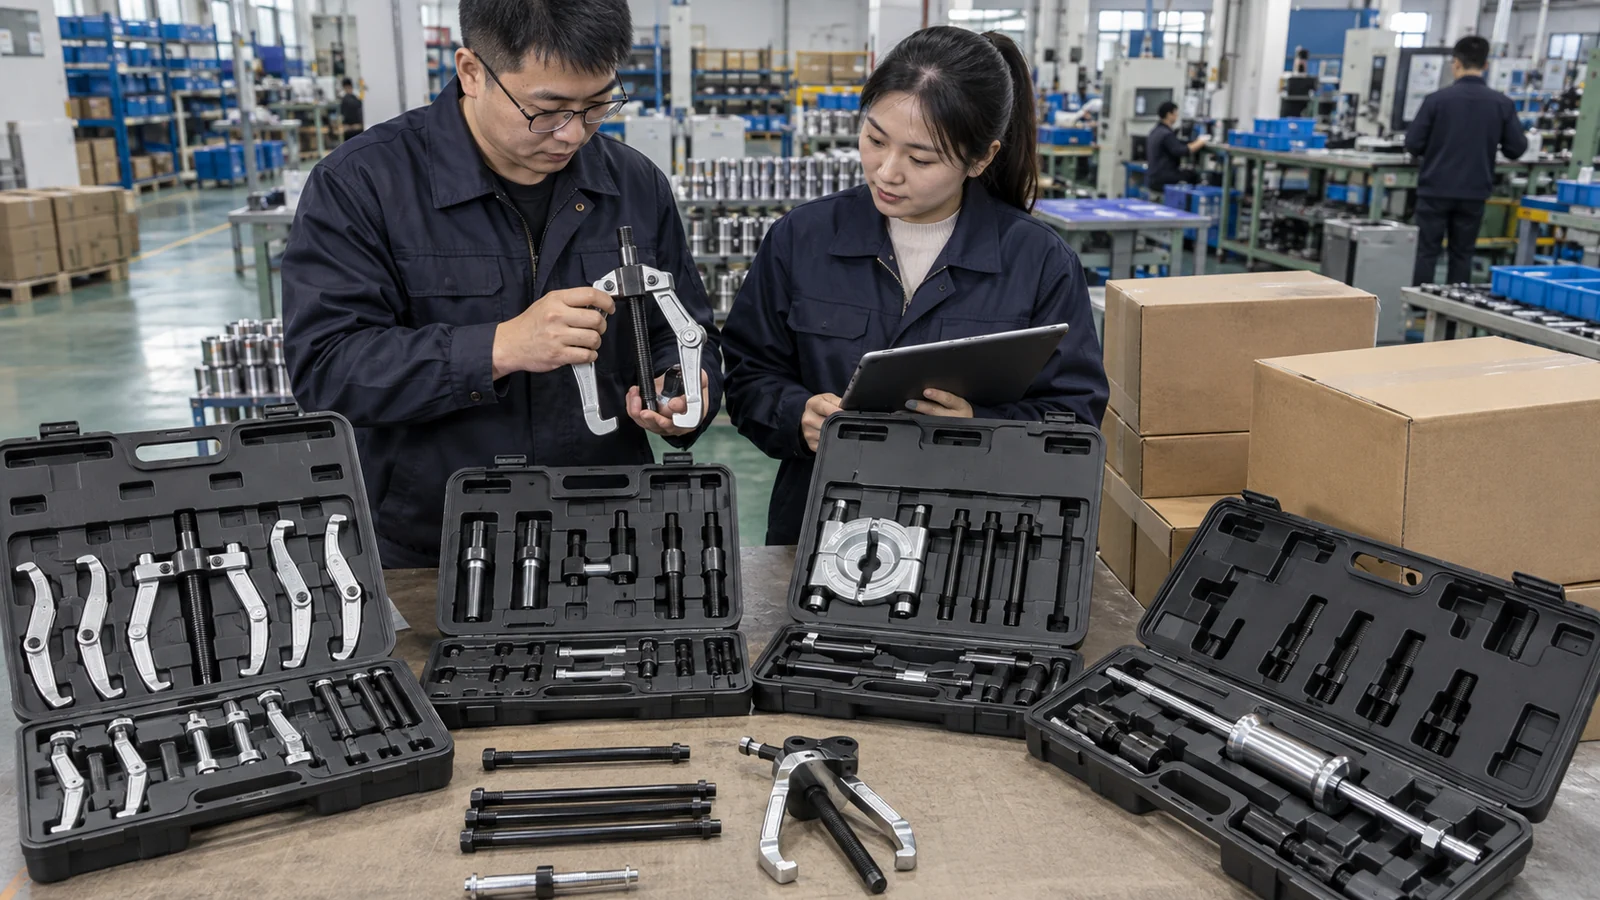
Distributors should build a range around repeatable interfaces rather than overlapping diameter claims. Start with external jaws, then add separator, internal, slide-hammer, hub, and hydraulic modules where customer applications justify them. Replacement jaws, collets, studs, bolts, hoses, and adapters support replenishment after the core kit sells.
Packaging should show application boundaries, measured ranges, rated configurations, part numbers, and English instructions. A case or tray should retain heavy jaws and separators during transport. Private-label buyers should approve artwork, markings, manual URL, and barcode against the production sample.
Use these range-planning inputs:
- Customer applications: bearing series, hub families, fleet, or equipment.
- Puller families and exact interface dimensions.
- Core SKU, fast-moving spares, and application modules.
- Case layout, carton protection, and manual language.
A strong assortment makes the next purchase easy. Group each SKU by application and tie replacements to its BOM.
Practical action: Map one core puller kit against three customer profiles: general repair shop, multi-location service chain, and private-label distributor. Compare your case, spares, and application guide with mechanics tool set configurations, mechanic tool set selection for distributors, and specialty tools for a complete workshop range.
Decision table: assortment planning
| Buyer profile | Core range | Add-on module | Replenishment question |
|---|---|---|---|
| General repair shop | External jaws, separator, internal kit | Slide hammer or hub adapter | Which jaw or collet wears first? |
| Service chain | Standardized external and blind kits | Vehicle-specific hub modules | Can every branch reorder the same part? |
| Industrial maintenance buyer | Separator, hydraulic, press attachments | Support fixtures and hoses | Are ratings and procedures documented? |
| Private-label distributor | Core SKU with approved case | Application and vehicle modules | Can packaging and BOM changes be reapproved? |
How can a buyer approve a bearing-puller program?

Approval should connect the real part, drawing, sample, and package. Record interface, bore or spread, reach, adapter, force method, rating, and removal position. Route later applications through the same review.
Buyers comparing an OEM partner may use this OEM automotive-tool supplier evaluation for wider questions. Keep drawing, BOM, sample, change, spare-part, and instruction records. Use the mechanical-tool supplier checklist after product checks.
Before release, verify:
- Sample fit on the target ring, hub, housing, or fixture.
- Full engagement, square alignment, clearance, and support.
- Rating for every jaw, attachment, hose, cylinder, separator, and adapter.
- Markings, packaging, application guide, warnings, and spares.
The approval file should let a second buyer reproduce the decision. That record supports later coverage questions and new applications.
Practical action: Send KOLARWIN an RFQ with component or vehicle list, measured interfaces, quantity, packaging, branding, and sample requirements through the request a bearing puller quotation page. Place the approved module inside a broader complete mechanic tools list only after its interface and application are fixed.
What should a puller RFQ include?
An RFQ should name the part, ring or surface, spread, reach, bore, support, force method, vehicle or equipment application, quantity, packaging, branding, and spares. Attach a dimensioned drawing or sample photograph.
Can a two-jaw puller replace a three-jaw puller?
Only when claws reach the same shoulder and rating suits the load path. Jaw count alone does not establish fit.
When does a separator make more sense than ordinary jaws?
Use a separator when claws cannot reach behind a flat component. Confirm blade thickness, seating, clearance, and rating before pulling.
What should a hydraulic kit quotation show?
Request cylinder, attachment, pump, hose, gauge, pressure limit, stroke, reach, spread, retaining method, and lowest-rated component in one record.
What should a private-label buyer approve before mass production?
Approve the production sample against drawing, BOM, markings, ratings, application guide, case retention, spares, instructions, and artwork. Record later design changes for reapproval.
Looking for a reliable mechanic tools manufacturer in China?
If you are sourcing hand tools, socket tools, automotive repair tools, mechanic tool sets or OEM private label tools, contact KOLARWIN Tools for factory-direct quotation, customization support and product consultation.