Need OEM supplier support for this product type?
Contact KOLARWIN Tools for OEM mechanic tools, private label packaging, wholesale quotation and product range support. This gives overseas buyers a clear path from article reading to supplier discussion.
An insulated terminal crimper forms a metal barrel plus its plastic sleeve; a non-insulated terminal crimper forms an exposed barrel or contact. US importers should specify terminal construction, die zones, conductor range, and handle-safety evidence separately. TE and Weidmüller tooling documentation supports that split and gives buyers concrete fields for samples and RFQs.
Contents
- 1. What does insulated mean in this comparison?
- 2. How does a non-insulated terminal differ?
- 3. Which die area forms the crimp?
- 4. Why does terminal placement matter?
- 5. Can one crimper cover both terminal types?
- 6. How do wire and insulation sizes affect choice?
- 7. What should a sample inspection record?
- 8. Which claims belong in a product listing?
- 9. How can importers build a sensible SKU range?
- 10. What should an RFQ ask for?
1. What does insulated mean in this comparison?
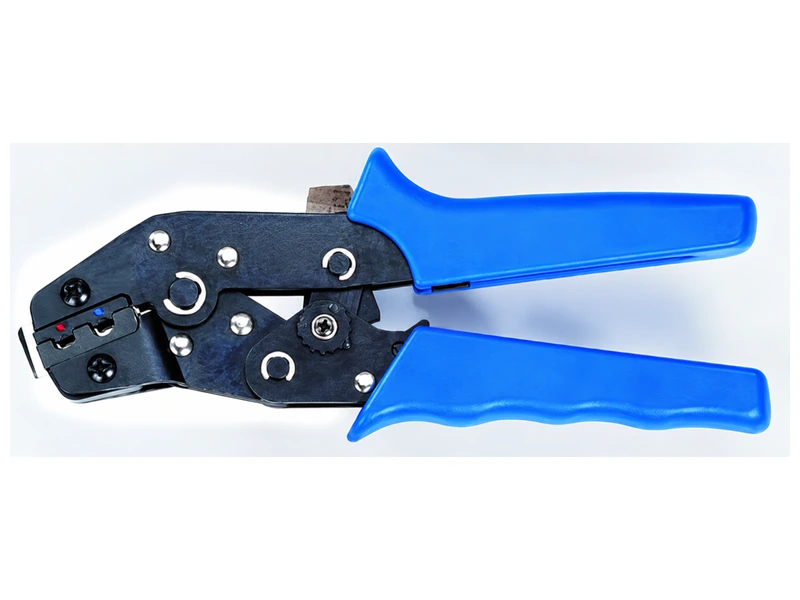
Here, insulated terminal means a crimp terminal with a plastic sleeve around its barrel. The sleeve can provide color coding and help position the part, but it does not turn a hand tool into an electrically certified device. Weidmüller states that a ferrule’s plastic collar helps conductor insertion yet does not offer insulation or anti-kink protection. A sleeved ring, fork, or butt terminal needs its own tooling geometry and application check.
The distinction matters for product data. A red, blue, or yellow sleeve may indicate a terminal family’s conductor grouping, though color conventions need confirmation from that terminal maker. A distributor should name terminal style, wire range, and crimp zone rather than rely on handle color or a broad “electrical crimper” label.
- Define insulated by terminal construction, not grip color.
- Record terminal part number, sleeve material, and barrel dimensions.
- Separate electrical-safety claims from mechanical crimp claims.
Name the terminal before the tool. Its sleeve and barrel dictate what the die must do.
Place one actual sleeved terminal beside the RFQ and ask the supplier to mark the intended die nest.
Definition table: two meanings buyers confuse
| Term | Refers to | Buyer check |
|---|---|---|
| Insulated terminal | Plastic sleeve on terminal barrel | Confirm terminal drawing |
| Non-insulated terminal | Exposed metal barrel or open contact | Confirm crimp zone |
| Insulated handle | Grip material or guard | Does not prove electrical rating |
| Die insulation nest | Tool area supporting sleeve | Match terminal geometry |
2. How does a non-insulated terminal differ?
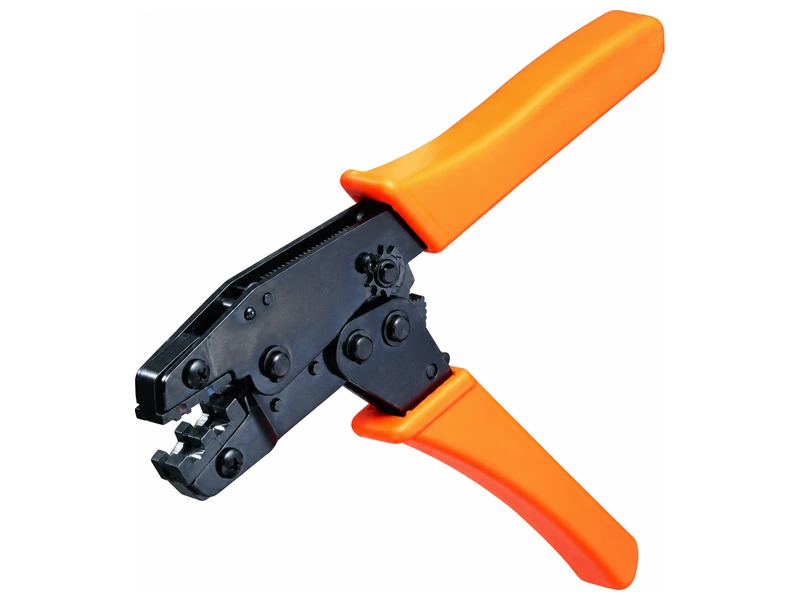
A non-insulated terminal exposes its metal barrel or contact. The die can form metal directly, often with a more defined indentation, seam, or open-barrel wing shape. The tool may have a separate nest for the wire barrel and another profile for open wings. A non-insulated terminal can also be a ferrule, where crimp profile selection depends on the receiving clamp and conductor arrangement.
Do not assume exposed metal means one universal crimp. Closed-barrel lugs, open-barrel automotive contacts, ferrules, and coaxial contacts use different interfaces. TE’s hand-tool information lists locators, wire stops, and product-specific die sets because contact geometry controls placement and closure.
- Identify closed-barrel versus open-barrel construction.
- Ask whether the die folds wings or compresses a closed sleeve.
- Keep ferrule dies separate from terminal-lug dies in SKU data.
Inspect the hidden crimp shape. Exposed metal alone does not show retention or fit.
Send an uncrimped terminal and one cross-section photo request with every non-insulated tooling inquiry.
Construction table: non-insulated families
| Terminal family | Metal form | Tooling question |
|---|---|---|
| Closed-barrel lug | Sleeve around conductor | Which indentation or compression profile? |
| Open-barrel contact | Wings fold around conductor and insulation | Does a locator hold contact orientation? |
| Ferrule | Sleeve around stripped strands | Which profile suits receiving clamp? |
| Coaxial contact | Multiple shields or barrels | Are separate crimp stages specified? |
3. Which die area forms the crimp?
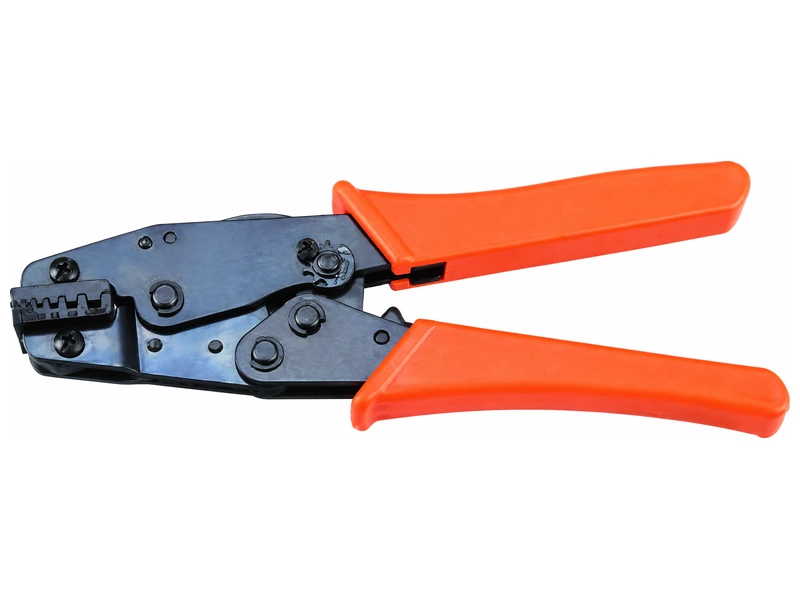
An insulated terminal crimper usually has a conductor-crimp area plus an insulation-support area. The first compresses metal around the conductor. The second supports or shapes a sleeve without cutting it. Some tools use a color-coded multi-nest head. Others use replaceable dies with marks for terminal ranges. Exact geometry belongs in the tool drawing and terminal application specification.
Non-insulated tooling may use a single wire-barrel nest, a stepped indentation, or a pair of moving wings. A ferrule tool may create square, hexagonal, trapezoidal, or another profile. Those profiles cannot be swapped because a die opening looks close in a catalog photo.
- Ask which die surface contacts conductor metal.
- Identify whether an insulation-support crimp is required.
- Verify die markings against the terminal supplier’s part number.
Compare the working surfaces. Two similar frames can form different terminals.
Require an annotated die drawing showing conductor and insulation zones.
Die-zone table: what to inspect
| Die zone | Insulated terminal task | Non-insulated task |
|---|---|---|
| Conductor nest | Compress metal barrel | Compress sleeve or form wings |
| Insulation support | Support plastic without damage | Usually absent or separate |
| Locator | Set terminal depth | Control open-barrel orientation |
| Release path | Avoid sleeve snagging | Permit contact removal after crimp |
4. Why does terminal placement matter?
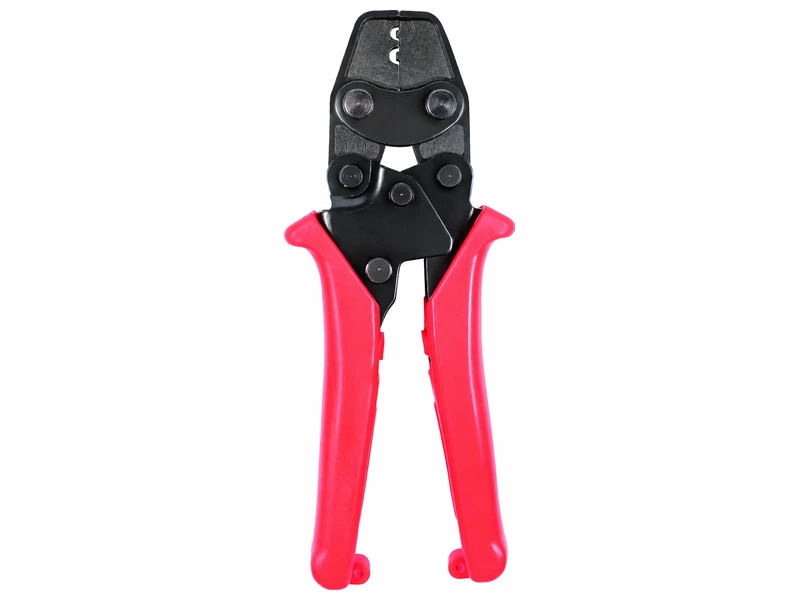
Placement sets where force lands. If a sleeved terminal sits too far forward, the conductor crimp may miss metal or push against plastic. If an open-barrel contact tilts, one wing can fold unevenly. A locator or wire stop can help, but only when its dimensions match the contact. TE describes locators as positioning contacts and limiting insertion distance, which makes that small component a real part of tooling selection.
Strip length matters too. A short stripped length can leave insulation in the conductor crimp or prevent full conductor insertion. An excessive stripped length can leave more exposed conductor than the terminal specification permits. Compare strip length and insertion position together against the exact terminal drawing. A work instruction should show the accepted conductor brush, insulation position and terminal orientation.
- Use the terminal shoulder as a placement reference.
- Check insulation entry and conductor brush position.
- Photograph correct and incorrect seating for training.
Tie the locator to a dimension. Ask which position it establishes.
Approve a sample only after a second operator repeats placement from the written instruction.
Placement table: common mismatch signs
| Sign | Possible contributing factors | Follow-up |
|---|---|---|
| Excess conductor exposure | Strip length, insertion or terminal position | Compare with specified conductor brush and strip length |
| Insulation inside conductor crimp | Short stripped length, wire insertion or terminal position | Check strip length, seating and locator against instructions |
| Sleeve split | Die mismatch, placement or excessive deformation | Review die, terminal and setup together |
| Uneven open wings | Contact orientation, die mismatch or tooling condition | Check seating, die identity and condition |
5. Can one crimper cover both terminal types?
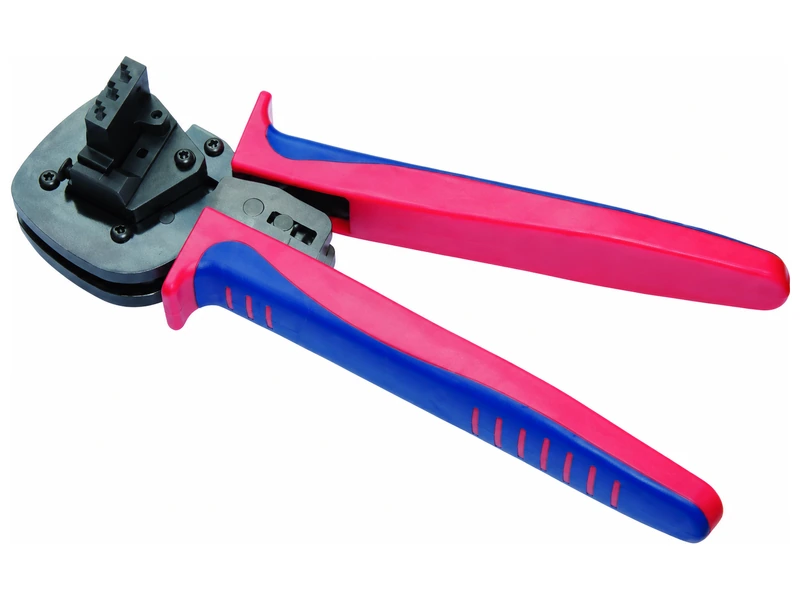
Sometimes a frame accepts different die sets, but one fixed nest rarely covers insulated lugs, open-barrel contacts, ferrules, and other terminal families correctly. TE’s modular SDE system demonstrates a frame-and-die approach, while Phoenix Contact publishes distinct ferrule profiles and conductor ranges. Those examples support a sourcing rule: compatibility must attach to a named die and terminal combination.
A supplier may offer a multi-nest crimper with separate cavities. Ask whether each cavity has its own wire range and terminal family. If one handle has both insulated and non-insulated stations, the packaging and markings should make those stations hard to confuse.
- Treat frame, die set, and terminal as three separate records.
- Request a die-change method and reassembly check.
- Keep any “multi-purpose” claim beside a list of approved combinations.
Count verified nests when claiming coverage. A broad adjective does not define a frame’s range.
Build a compatibility matrix before listing a multi-nest tool.
Coverage table: frame versus die
| Product description | Safe interpretation | Missing evidence |
|---|---|---|
| Multi-purpose frame | May accept multiple die sets | Approved die list |
| Three-position crimper | May have separate nests | Terminal and wire range per nest |
| Insulated terminal tool | Intended for a terminal class | Sleeve and barrel dimensions |
| Universal crimper | Marketing shorthand only | Full compatibility matrix |
6. How do wire and insulation sizes affect choice?
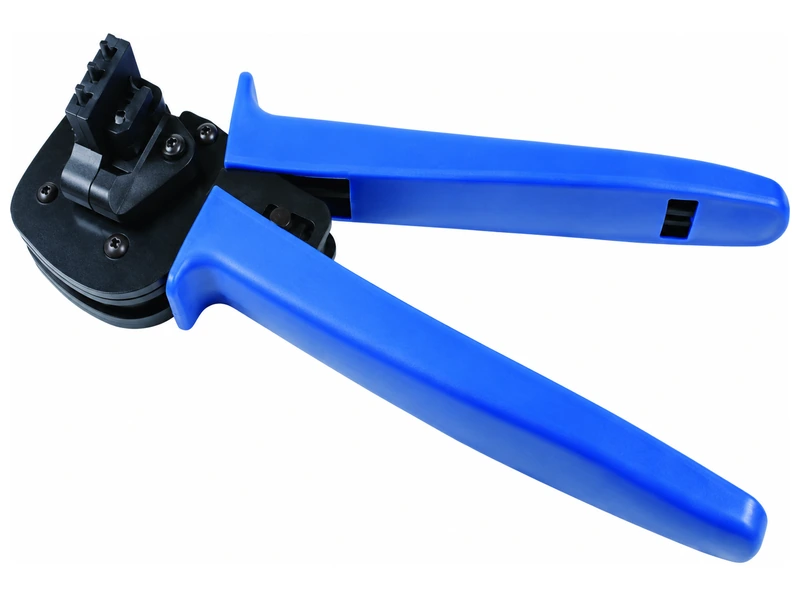
Wire size alone does not settle die selection. A terminal must fit conductor cross-section and insulation outside diameter. Two wires with the same nominal conductor size can present different insulation dimensions or strand constructions. A die that compresses one sleeve neatly may damage another. State AWG or metric area along with terminal part number and insulation diameter when the application allows.
Ferrule work adds conductor arrangement. Twin ferrules, fine-stranded conductors, and insertion into a square or round clamp can change profile choice. Phoenix Contact notes that ferrule crimp forms have different receiving-space behavior. That does not make one profile universally superior.
- Record conductor area and insulation outside diameter.
- Ask whether the terminal range assumes solid, stranded, or fine-stranded wire.
- Check twin-ferrule use separately from single ferrules.
Record more than the wire number. Terminal barrel and insulation diameter complete the fit.
Include a cut-and-strip sample representing the largest and smallest planned conductor.
Sizing table: fields beside AWG
| Field | Why it matters | Example record |
|---|---|---|
| Conductor area | Sets metal compression range | AWG or mm² |
| Strand construction | Changes fill and handling | Stranded or fine-stranded |
| Insulation diameter | Controls support-nest fit | Supplier drawing value |
| Ferrule arrangement | Changes entry and profile | Single or twin |
7. What should a sample inspection record?
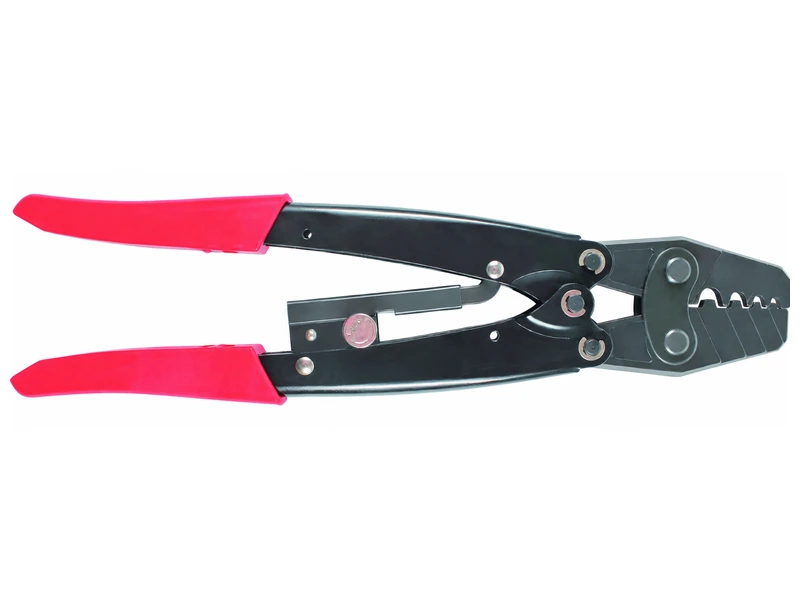
Inspect the tool and finished crimp together. Record tool identification, die code, terminal part number, conductor, strip length, and operator. On the part, look for a centered crimp, intact insulation, correct conductor brush, no cut strands, and a sleeve that remains attached. A pull-out test can support evaluation, yet acceptance force must come from the terminal or buyer requirement.
For non-insulated open-barrel contacts, inspect wing formation and conductor capture. For insulated terminals, inspect the support area separately from the conductor area. For ferrules, check conductor seating and collar condition. Weidmüller’s ferrule material lists visual checks such as no visible cracks, no collar deformation, and proper strand position.
- Keep one uncrimped and one crimped sample in the approval file.
- Note lighting, magnification, and measuring method.
- Repeat inspection after tool cleaning or die replacement.
Use the same fields for every sample. Consistent records produce consistent decisions.
Reject reports that show a finished part without tool and terminal identity.
Inspection table: evidence by terminal
| Terminal type | Visual check | Extra record |
|---|---|---|
| Insulated lug | Sleeve intact and support centered | Insulation diameter |
| Non-insulated lug | Barrel compression and strand capture | Crimp profile drawing |
| Open-barrel contact | Wing fold and conductor position | Contact orientation |
| Ferrule | Collar and strand seating | Receiving clamp profile |
8. Which claims belong in a product listing?
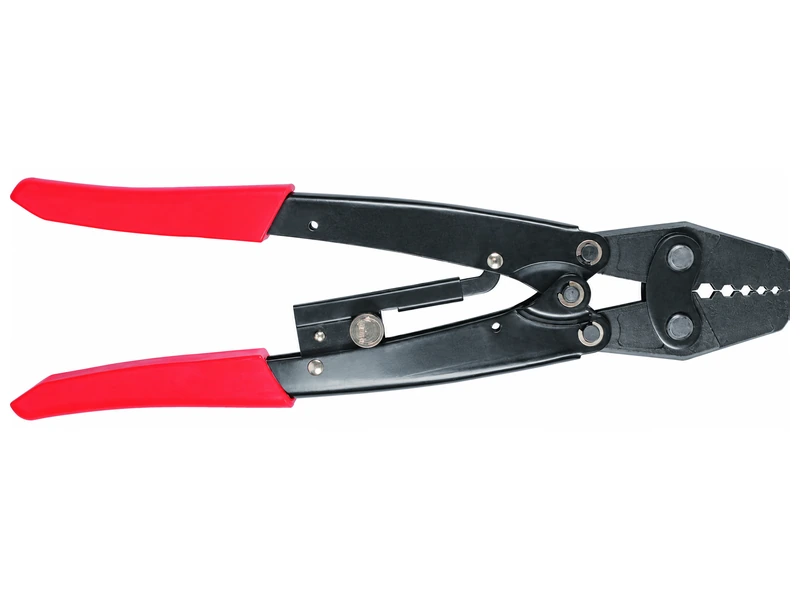
A product listing should name terminal type, conductor range, die station, and any confirmed marking. If handle grips have a material or ergonomic feature, describe that feature without implying electrical protection. Avoid “insulated crimper” unless you can state what insulation refers to and provide applicable evidence. The same rule applies to “professional,” “universal,” and “heavy-duty.”
Use a clear photo of the die area, not only the closed handles. Show the terminal family in a separate image or line drawing. Explain whether a customer receives a fixed die, replaceable dies, or a multi-nest tool. For adjacent wire work, the wire stripper versus wire cutter guide can provide category context without turning a crimper into a cutter.
- Put terminal family in the title or first data field.
- List each die station with its range.
- State that handle color does not establish electrical certification.
Put fit before grip color in product copy. Buyers should see terminal evidence first.
Send product-page copy to the sample approver before printing packaging.
Listing table: claim control
| Listing phrase | Use when | Avoid when |
|---|---|---|
| For insulated terminals | Die and terminal family are defined | Only handle has a colored grip |
| For non-insulated terminals | Barrel profile is identified | Multiple families are unverified |
| Replaceable dies | Frame and die interface are documented | Die codes are unknown |
| Electrical safety | Applicable certification is documented | Only grip material is known |
9. How can importers build a sensible SKU range?
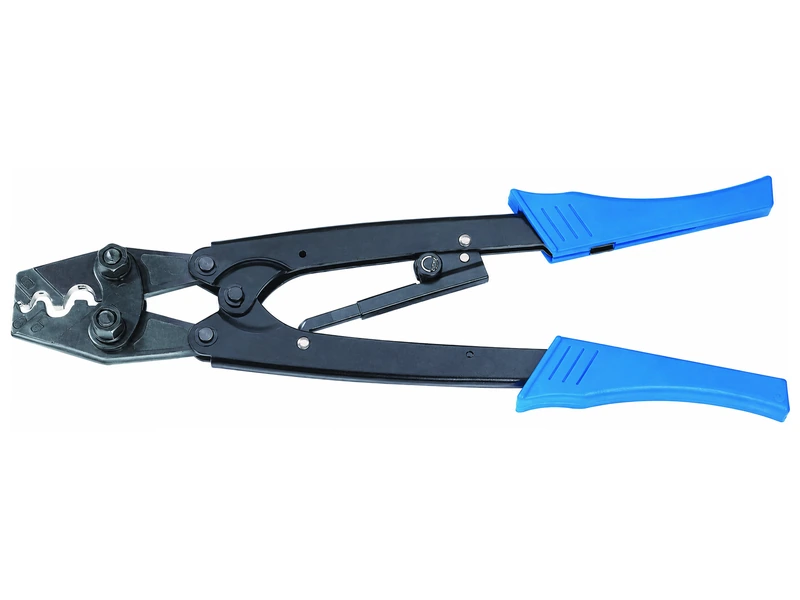
Begin with demand by terminal family. A distributor serving automotive repair may need insulated butt, ring, and spade terminals. A controls supplier may need ferrule profiles and fine-stranded conductor coverage. An industrial maintenance buyer may need a compact tool plus clearly defined replacement dies. Use your customer’s actual part numbers rather than a generic “electrical terminals” category.
Separate handle, die, and kit SKUs in your ERP. Show which die comes installed and which accessories are optional. Record replacement availability and packaging differences. The hand tools range can hold broad category context, while a product page should carry exact die information.
- Rank terminal families by actual quote and return history.
- Keep insulated and non-insulated tools in separate comparison rows.
- Add a sample status field before launch.
Build the range from customer parts. Expand after fit records show a repeatable need.
Create a three-column range review with customer terminal, approved die, and current return reason.
Assortment table: SKU controls
| SKU layer | What to list | Why it matters |
|---|---|---|
| Frame | Handle style and die interface | Prevents frame/die confusion |
| Die set | Profile and terminal range | Defines actual work |
| Kit | Included terminals or accessories | Controls customer expectation |
| Replacement | Code and fit confirmation | Reduces service returns |
10. What should an RFQ ask for?
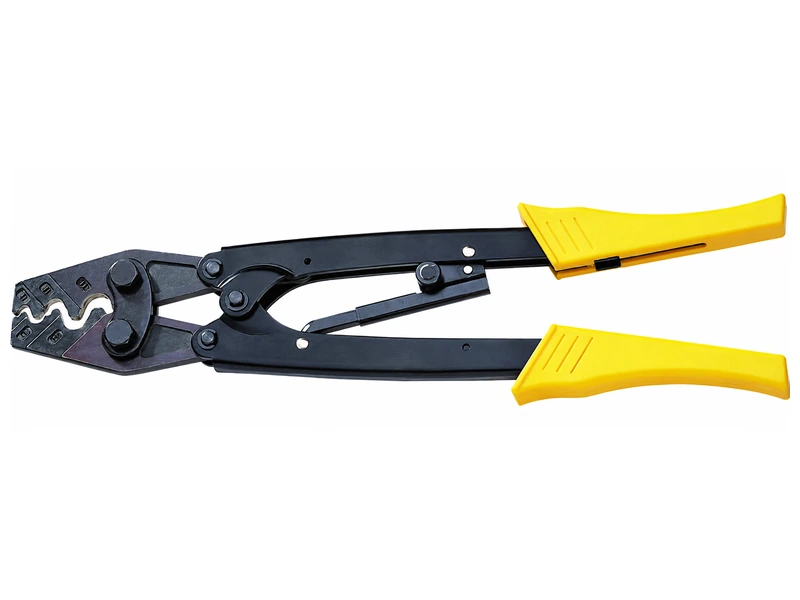
Ask for the terminal drawing, die drawing, approved conductor range, strip length, insertion depth, and sample process. Add the distinction between terminal insulation and handle insulation in plain language. Request a finished sample for each terminal family, plus a visual inspection sheet and any applicable test method. If a supplier cites a standard, ask which product scope and edition apply. The broader types of crimping tools guide can help your team separate terminal tooling from preparation tools.
Include commercial fields that US buyers often need. Ask for package marking, units, replacement-die policy, lot traceability, change notification, and a defined sample approval point. If a supplier suggests one crimper for several families, require a matrix that names every station. For a wider maintenance assortment, link your project brief with industrial maintenance repair tools.
- Name terminal material and sleeve construction.
- List conductor area, AWG, insulation diameter, and strip length.
- Require written approval for any substitute die or terminal.
Tie every RFQ claim to a drawing or sample. Color should never carry the specification.
Send your RFQ through Kolarwin’s contact page with one marked-up terminal image and one prepared conductor. For automotive assortments, compare the automotive repair tools range; for supplier context, see Kolarwin’s industry page and about page.
Q1: Does insulated terminal mean an electrically insulated crimper?
No. It normally describes a terminal with a plastic sleeve. Handle material and electrical certification require separate evidence.
Q2: Can one tool crimp insulated and non-insulated terminals?
Sometimes, when separate approved nests or die sets cover both families. Confirm each combination in writing.
Q3: Why does a locator matter?
It can set insertion depth and terminal orientation, which affects where force forms the crimp.
Q4: Should wire size alone select a die?
No. Terminal barrel, insulation diameter, strand construction, and terminal family also affect die fit.
Q5: What should a sample package contain?
Include exact tool and die identity, terminal and wire details, prepared samples, drawings, inspection results, and any applicable test method.
Looking for a reliable mechanic tools manufacturer in China?
If you are sourcing hand tools, socket tools, automotive repair tools, mechanic tool sets or OEM private label tools, contact KOLARWIN Tools for factory-direct quotation, customization support and product consultation.